
1 Shoot the pictures.
2 Recover homographies.
3 Rectify images.
4 Blend images into a mosaic.
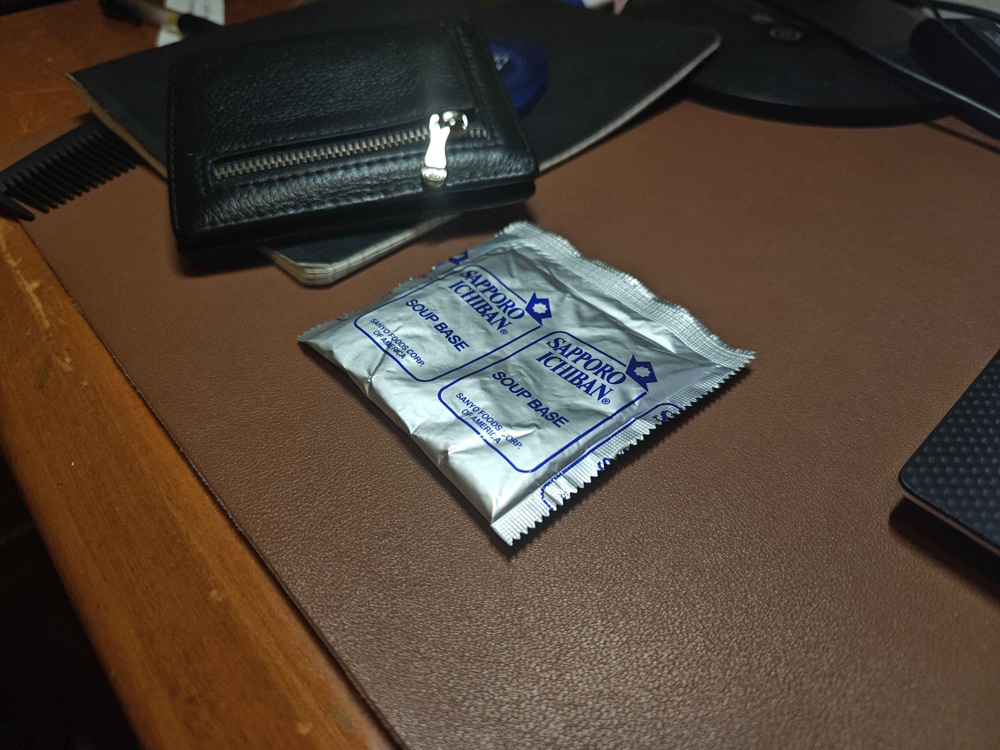
For images to align well they need to share a common center. This means not moving the camera while taking the images and only rotating it. This is exactly what I had done, I locked exposure, put two fingers around my phone camera to form a rotation axis, rotated the phone and snapped a few pictures.
First I found correspondences with given correspondence tool. I then used the following formula to compute the homography:
Homography is 3x3 matrix of the following form: [[a b c] [d e f] [g h 1]]. We need at least 4 points to find the homography, but by using least squares to solve the above equation we can have any number of correspondaces we want, the more correspondaces the less the error from inexact points.
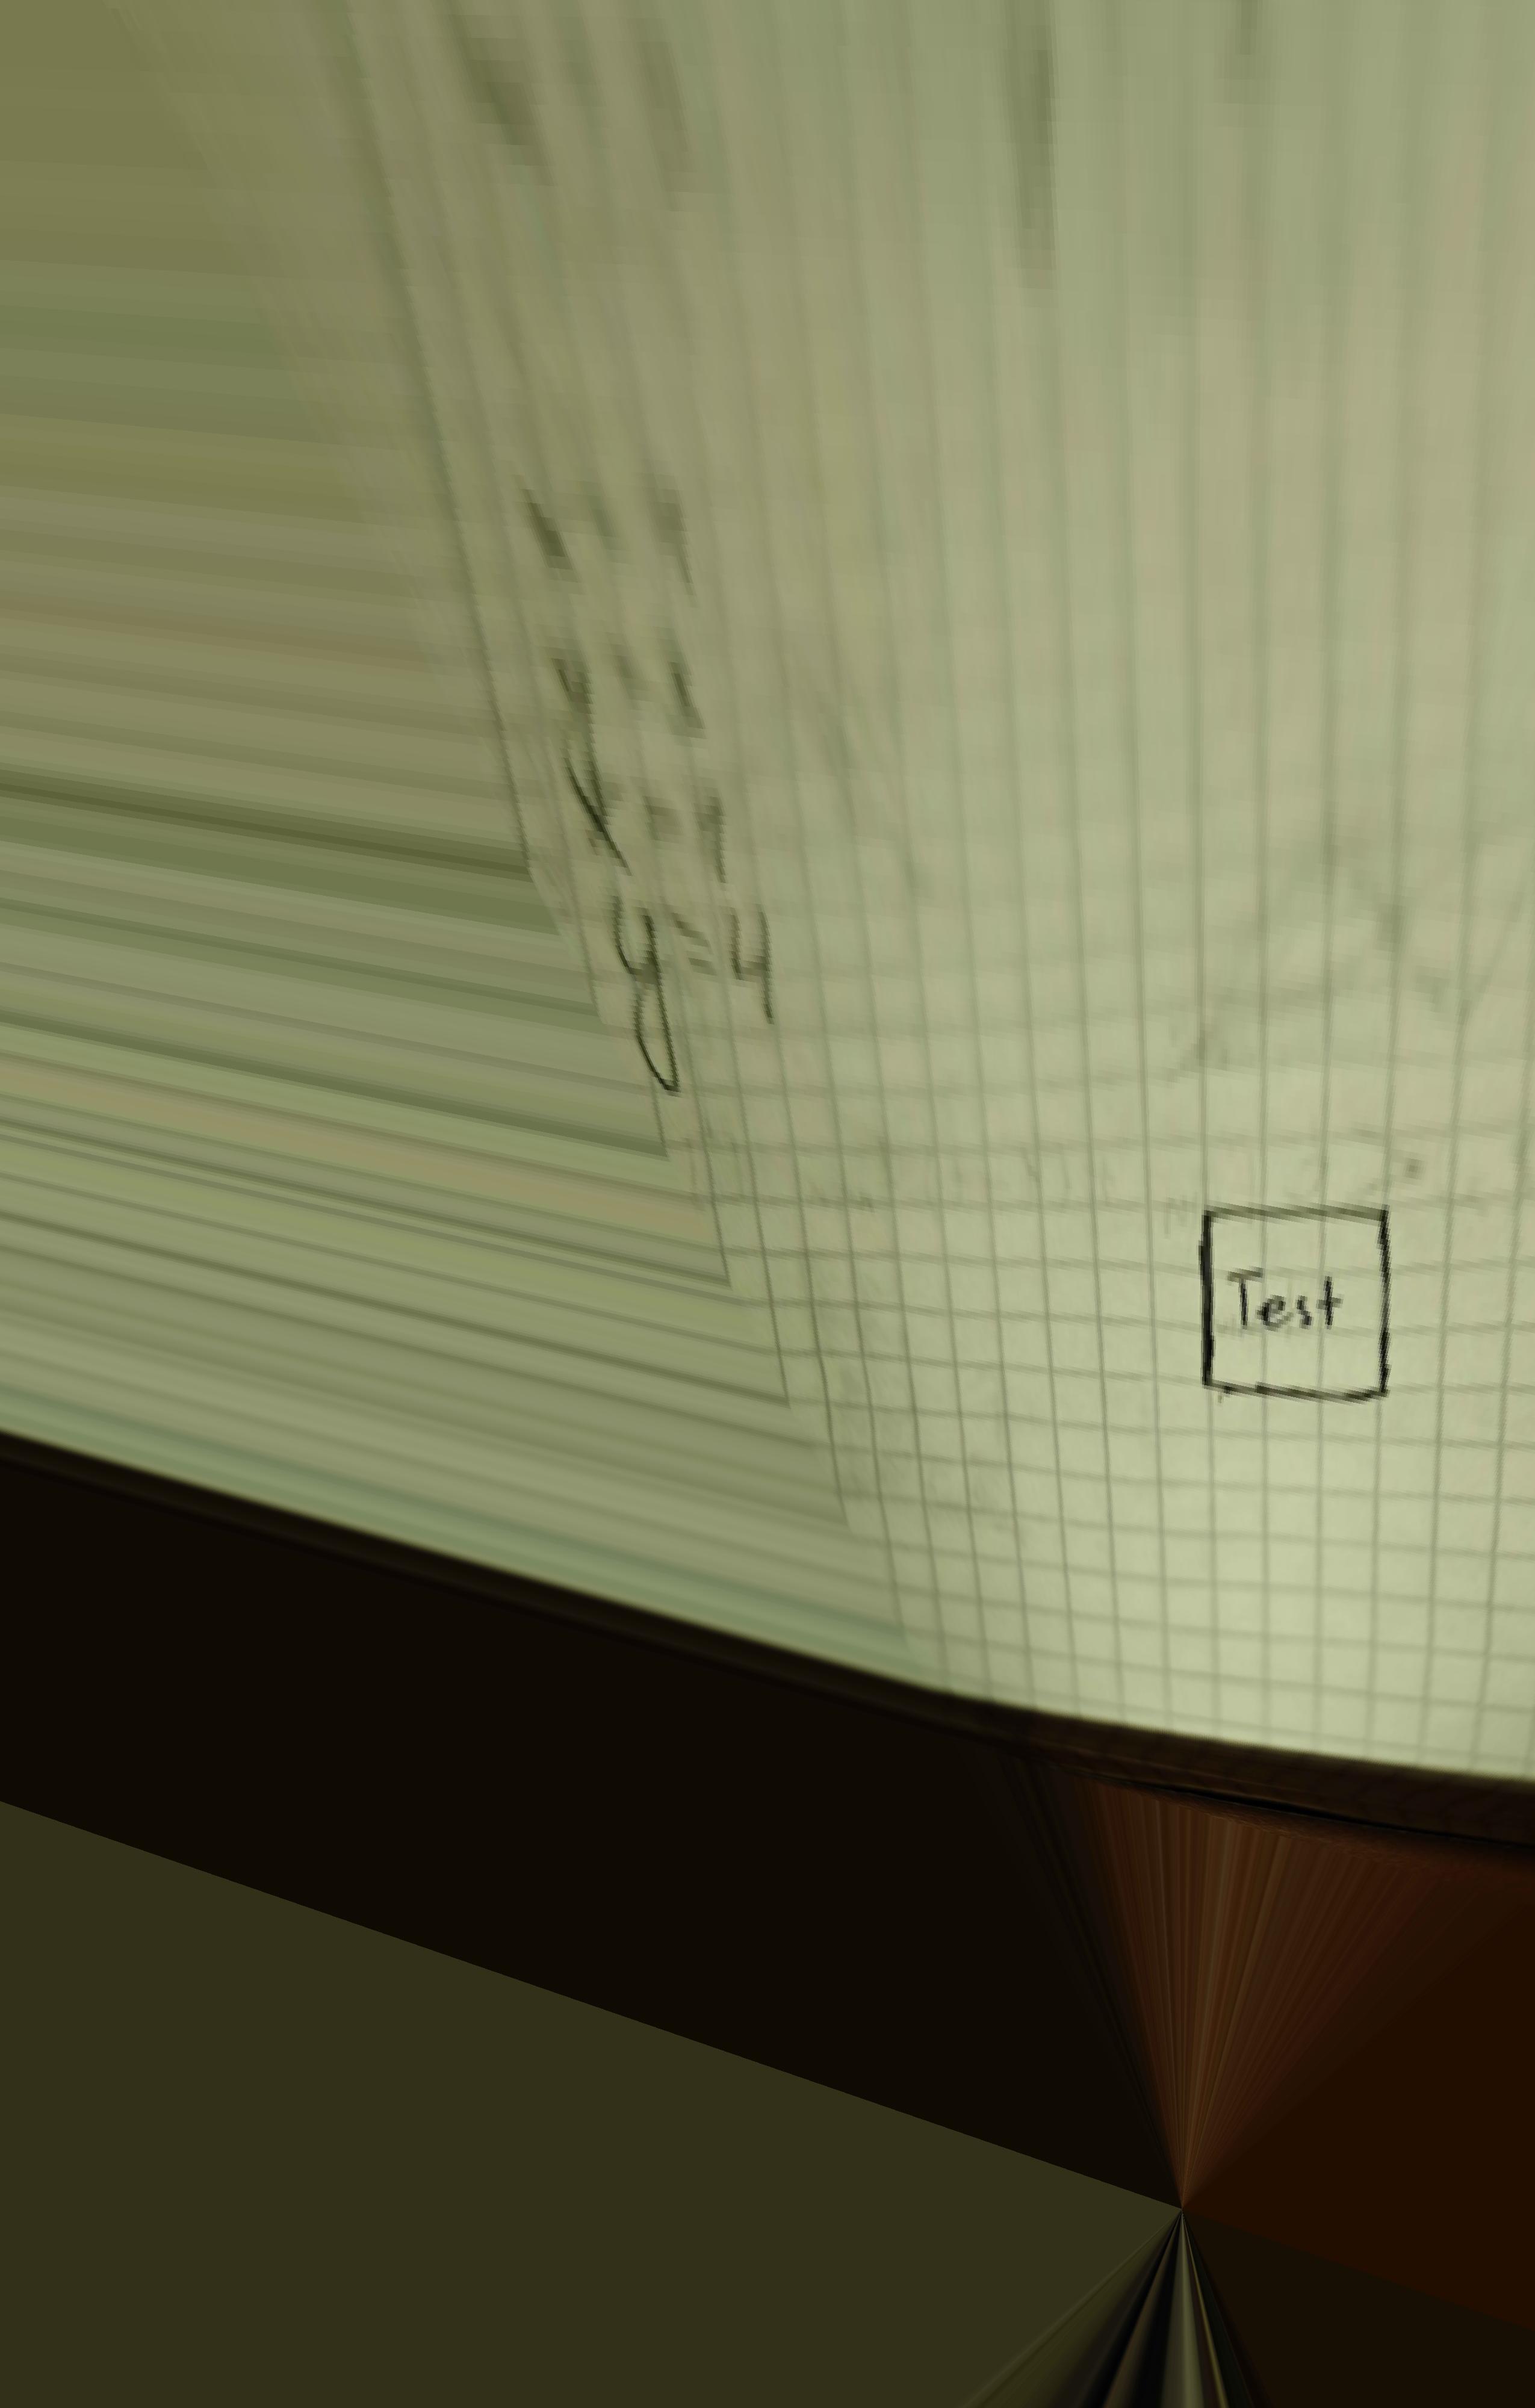
I used the same approach as in project 3 to map the pixels. First I find the boundary points of the image I want to morph by applying homographic transform to 4 corners of original image. I then find points bounded by that shape, and apply inverse homographic transform to get corresponding points on original image, I interpolate between those points to get the correct values on final image. Now we can take a photo of an object with known shape, and morph it into that shape to make it face us. However in the "test" image the boundaries of rectified image got blown up, so I cropped it a little bit.


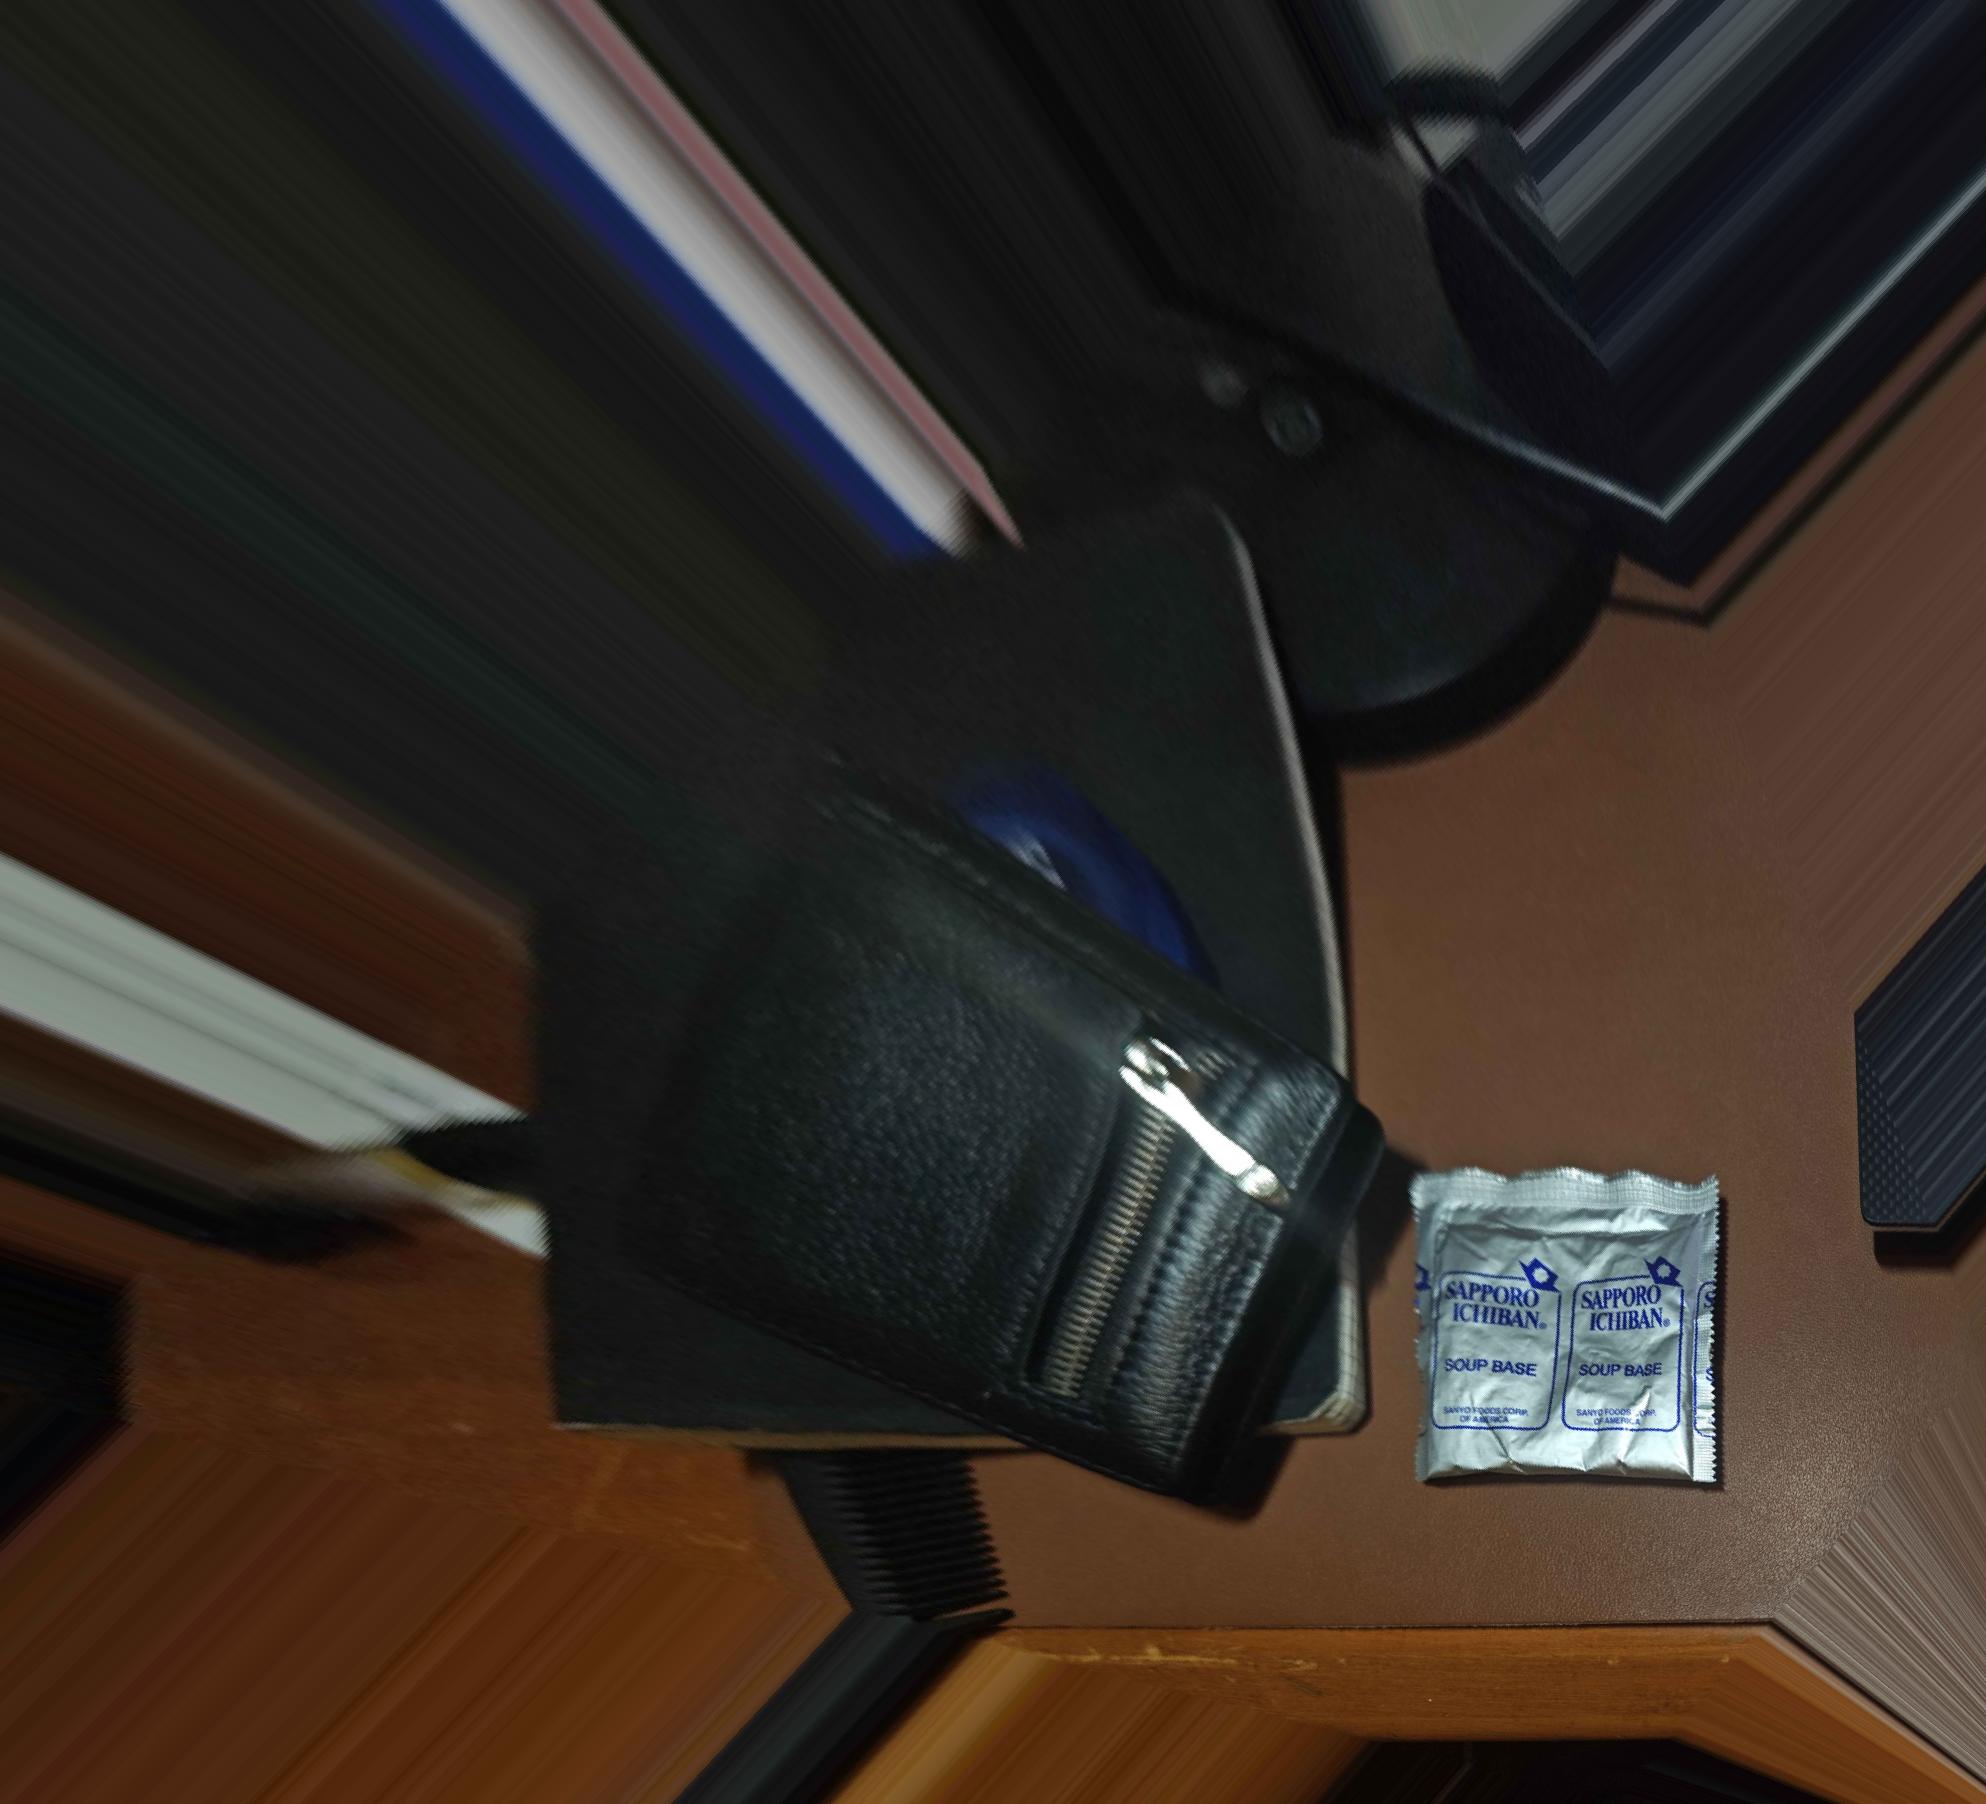
To morph two images together I find the transform between them, leave one unchanged and morph the other onto the first one. We can then apply the transform to morphed image correspondence points to get new correct points and continue blending next images. Since the process is recursive my implementation supports unlimited amount of images as long as you build the hierarchy. This approach is alright, but there is a visible seam between to images. So to get rid of the seam I used multiresolution blending with 2 levels from project2. That is good, but we need to find a good mask to use, intersection mask wont do because some of the black pixels will be blended in. So as my mask I used the following: eroded intersection(outside pixel layers removed) summed with image1 mask - intersection, diluted a little bit. This way the resulting mask pastes image1 and then blends at the end of it.
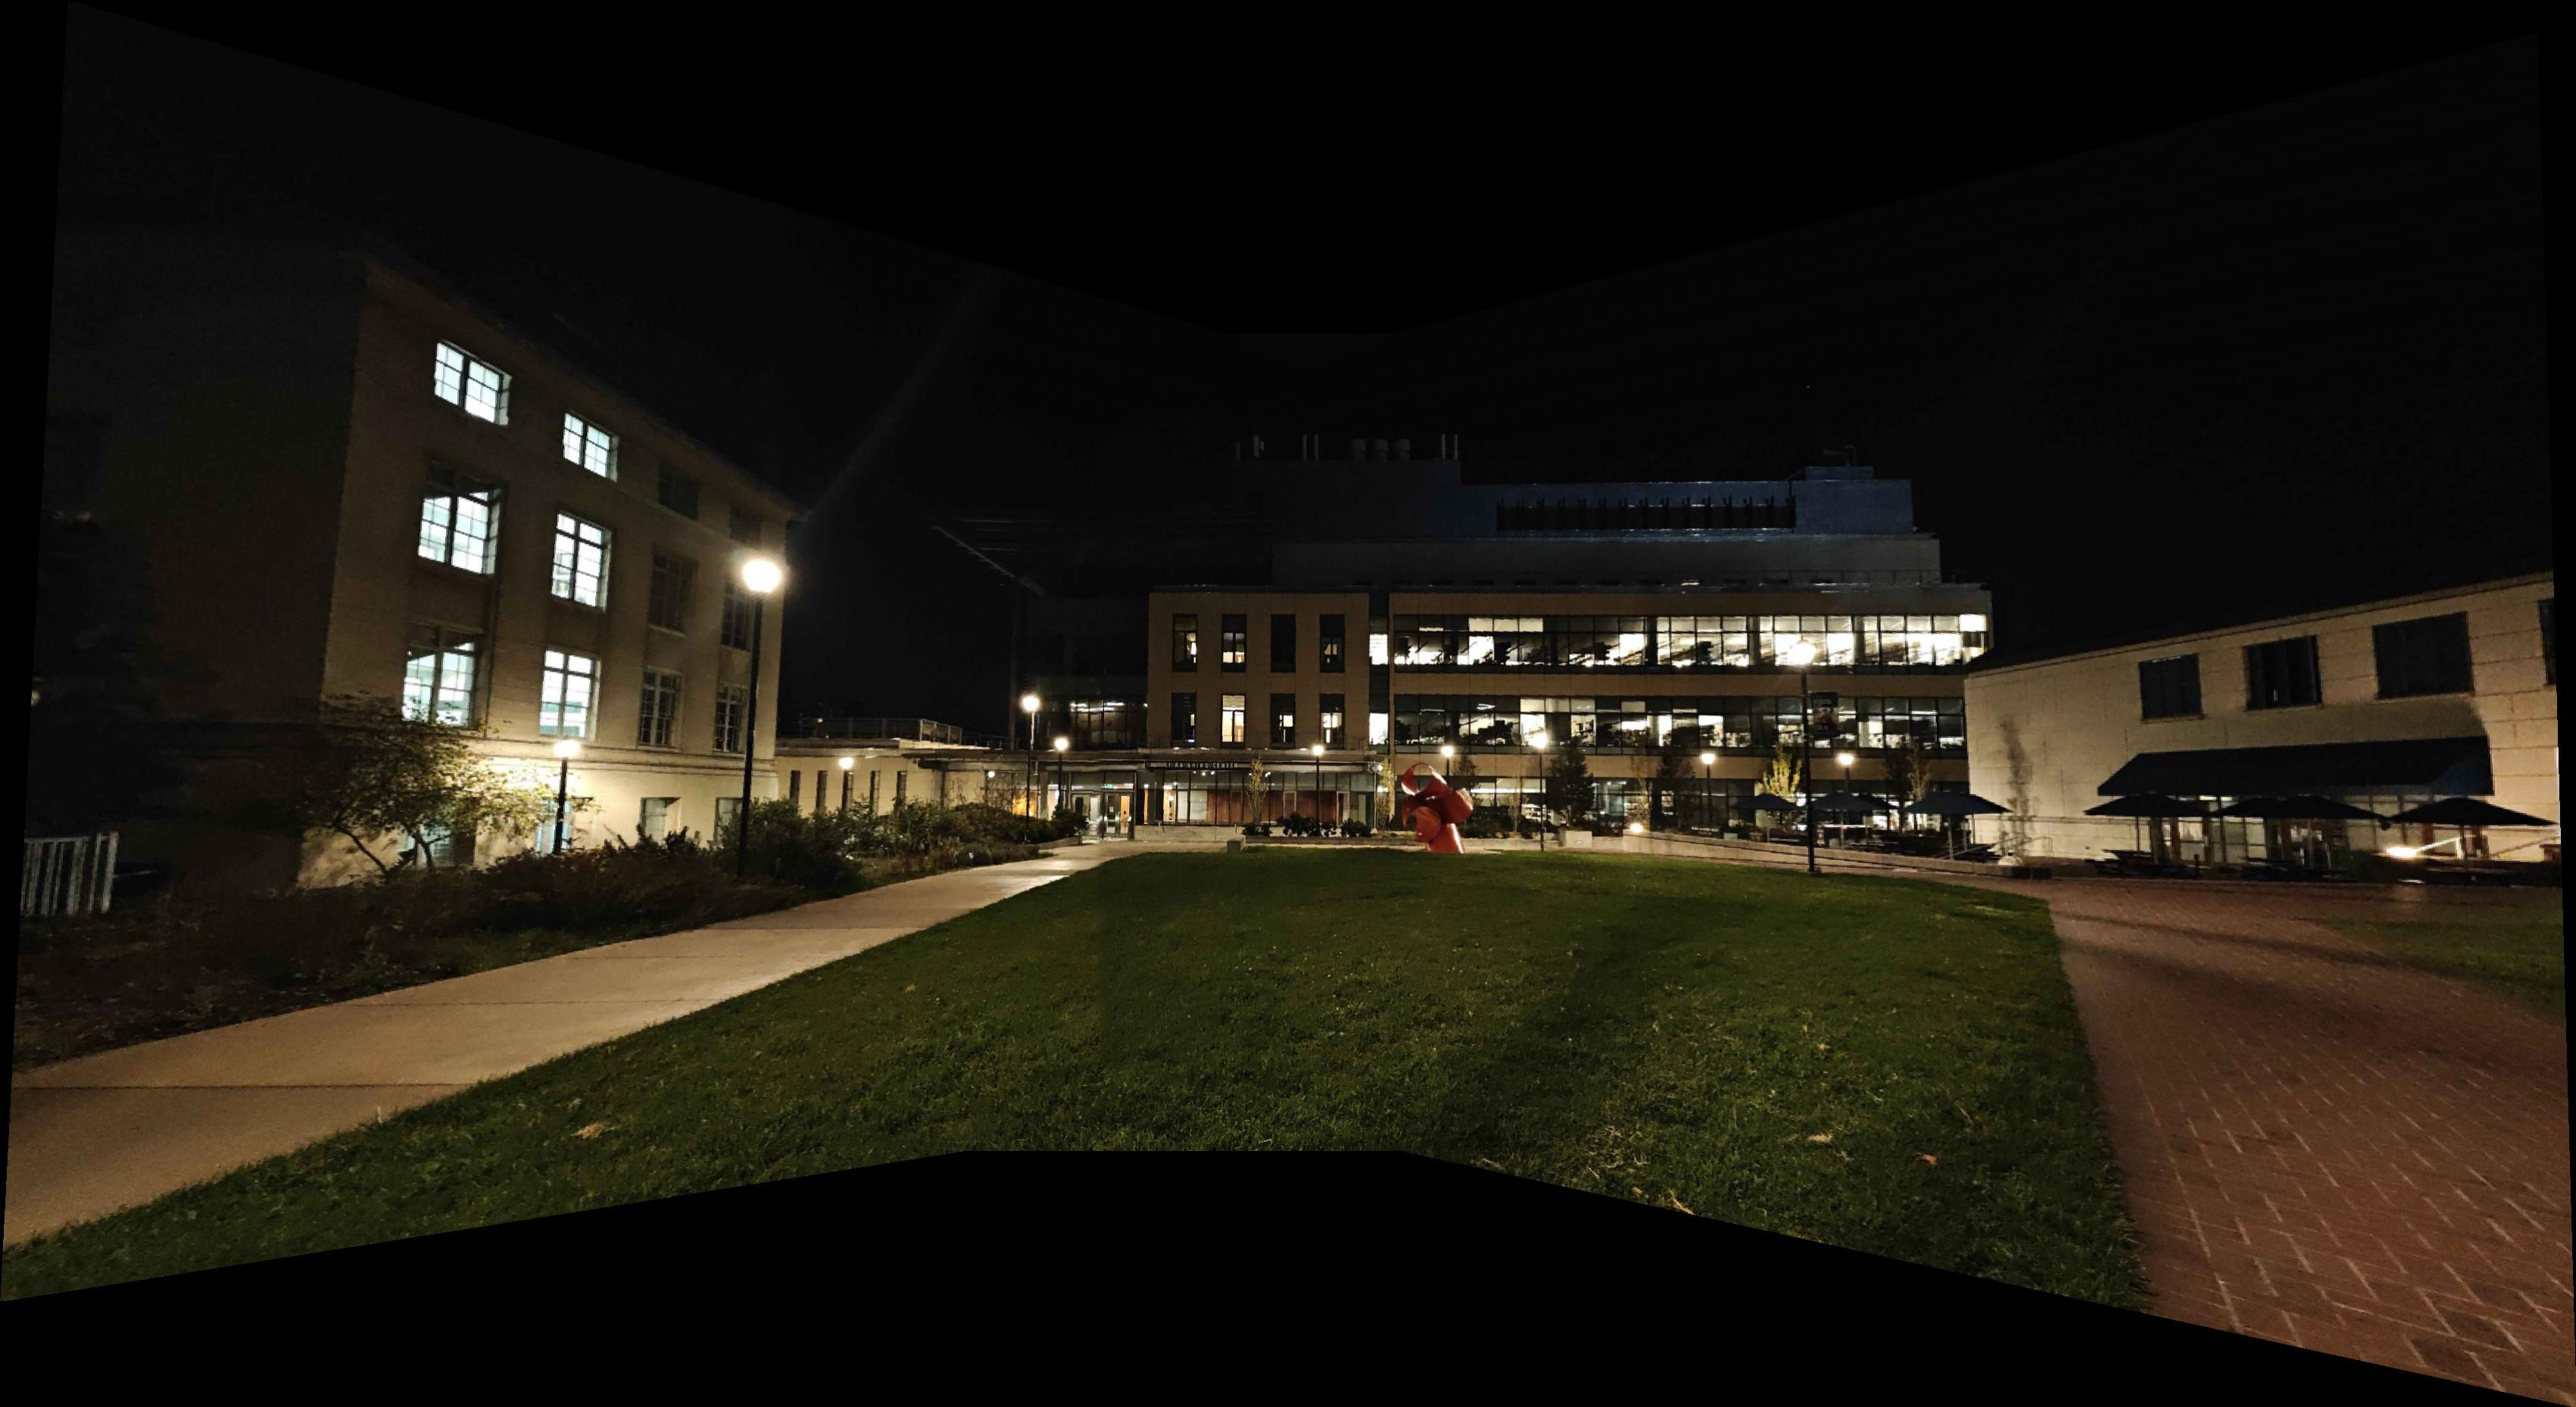
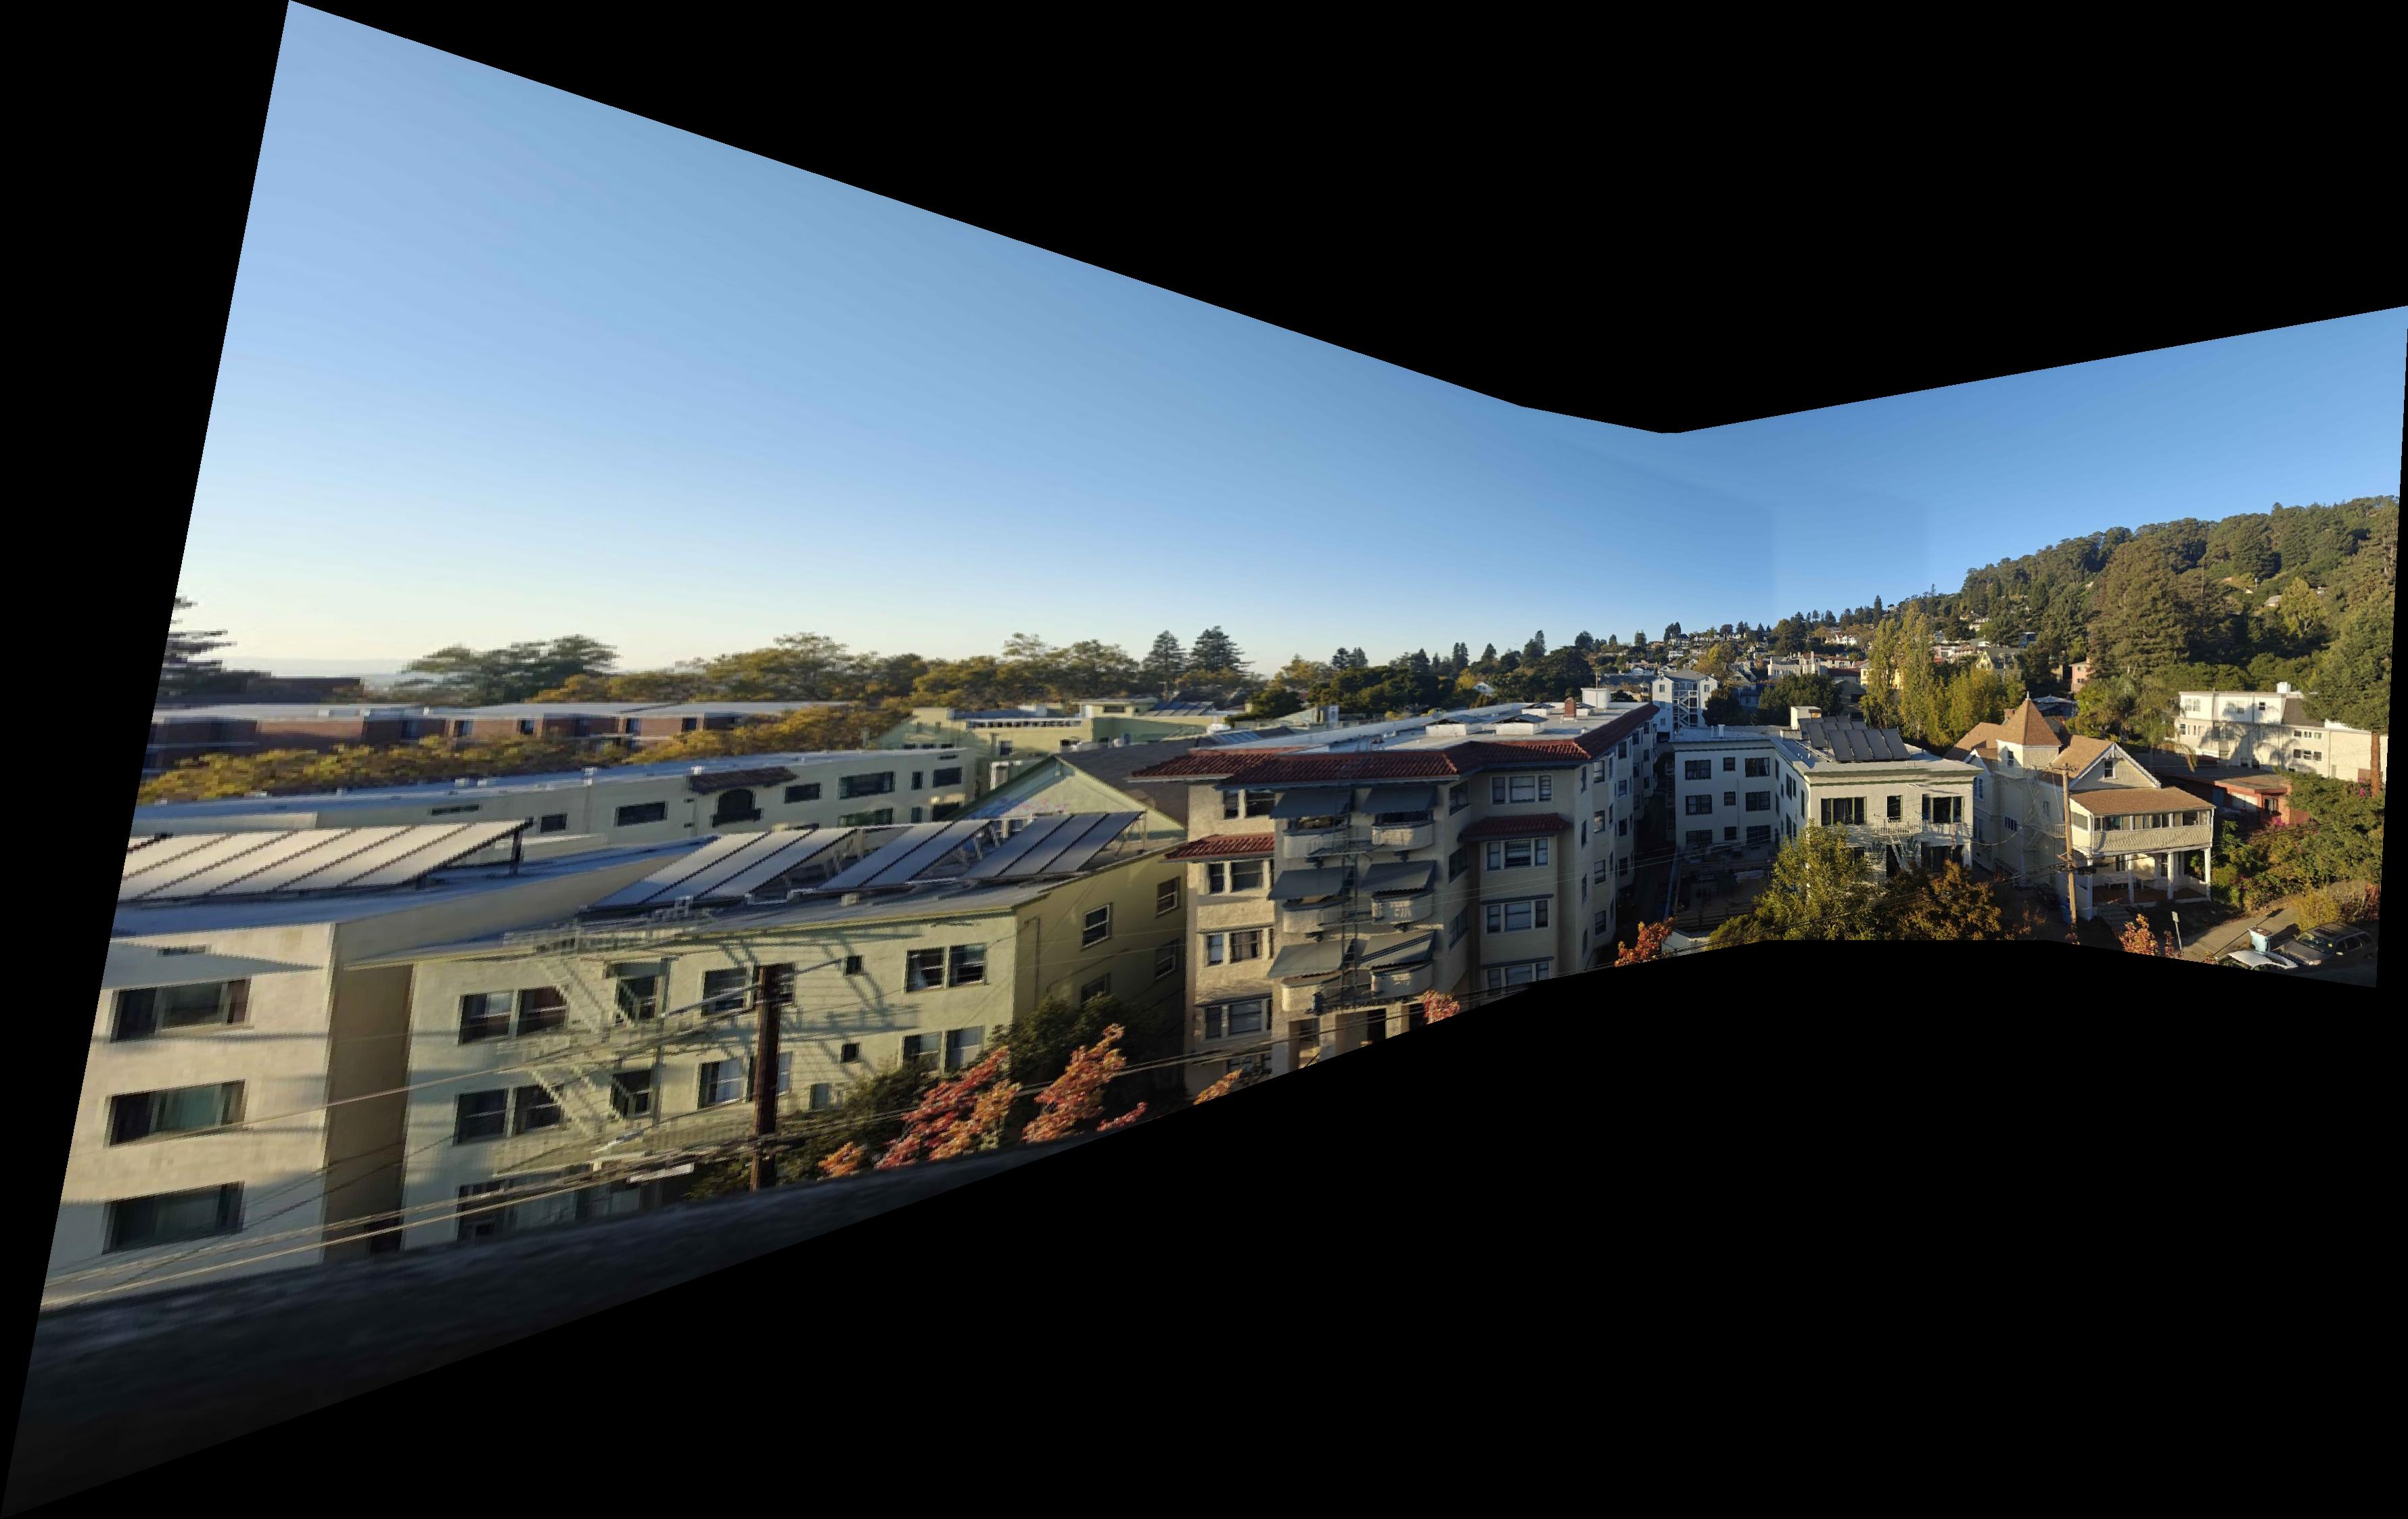
If you look closely below you will find a seam, it is because I did not have a tripod and rotating images by hand produced some offset in camera position. As the shots are pretty close that difference can be seen.


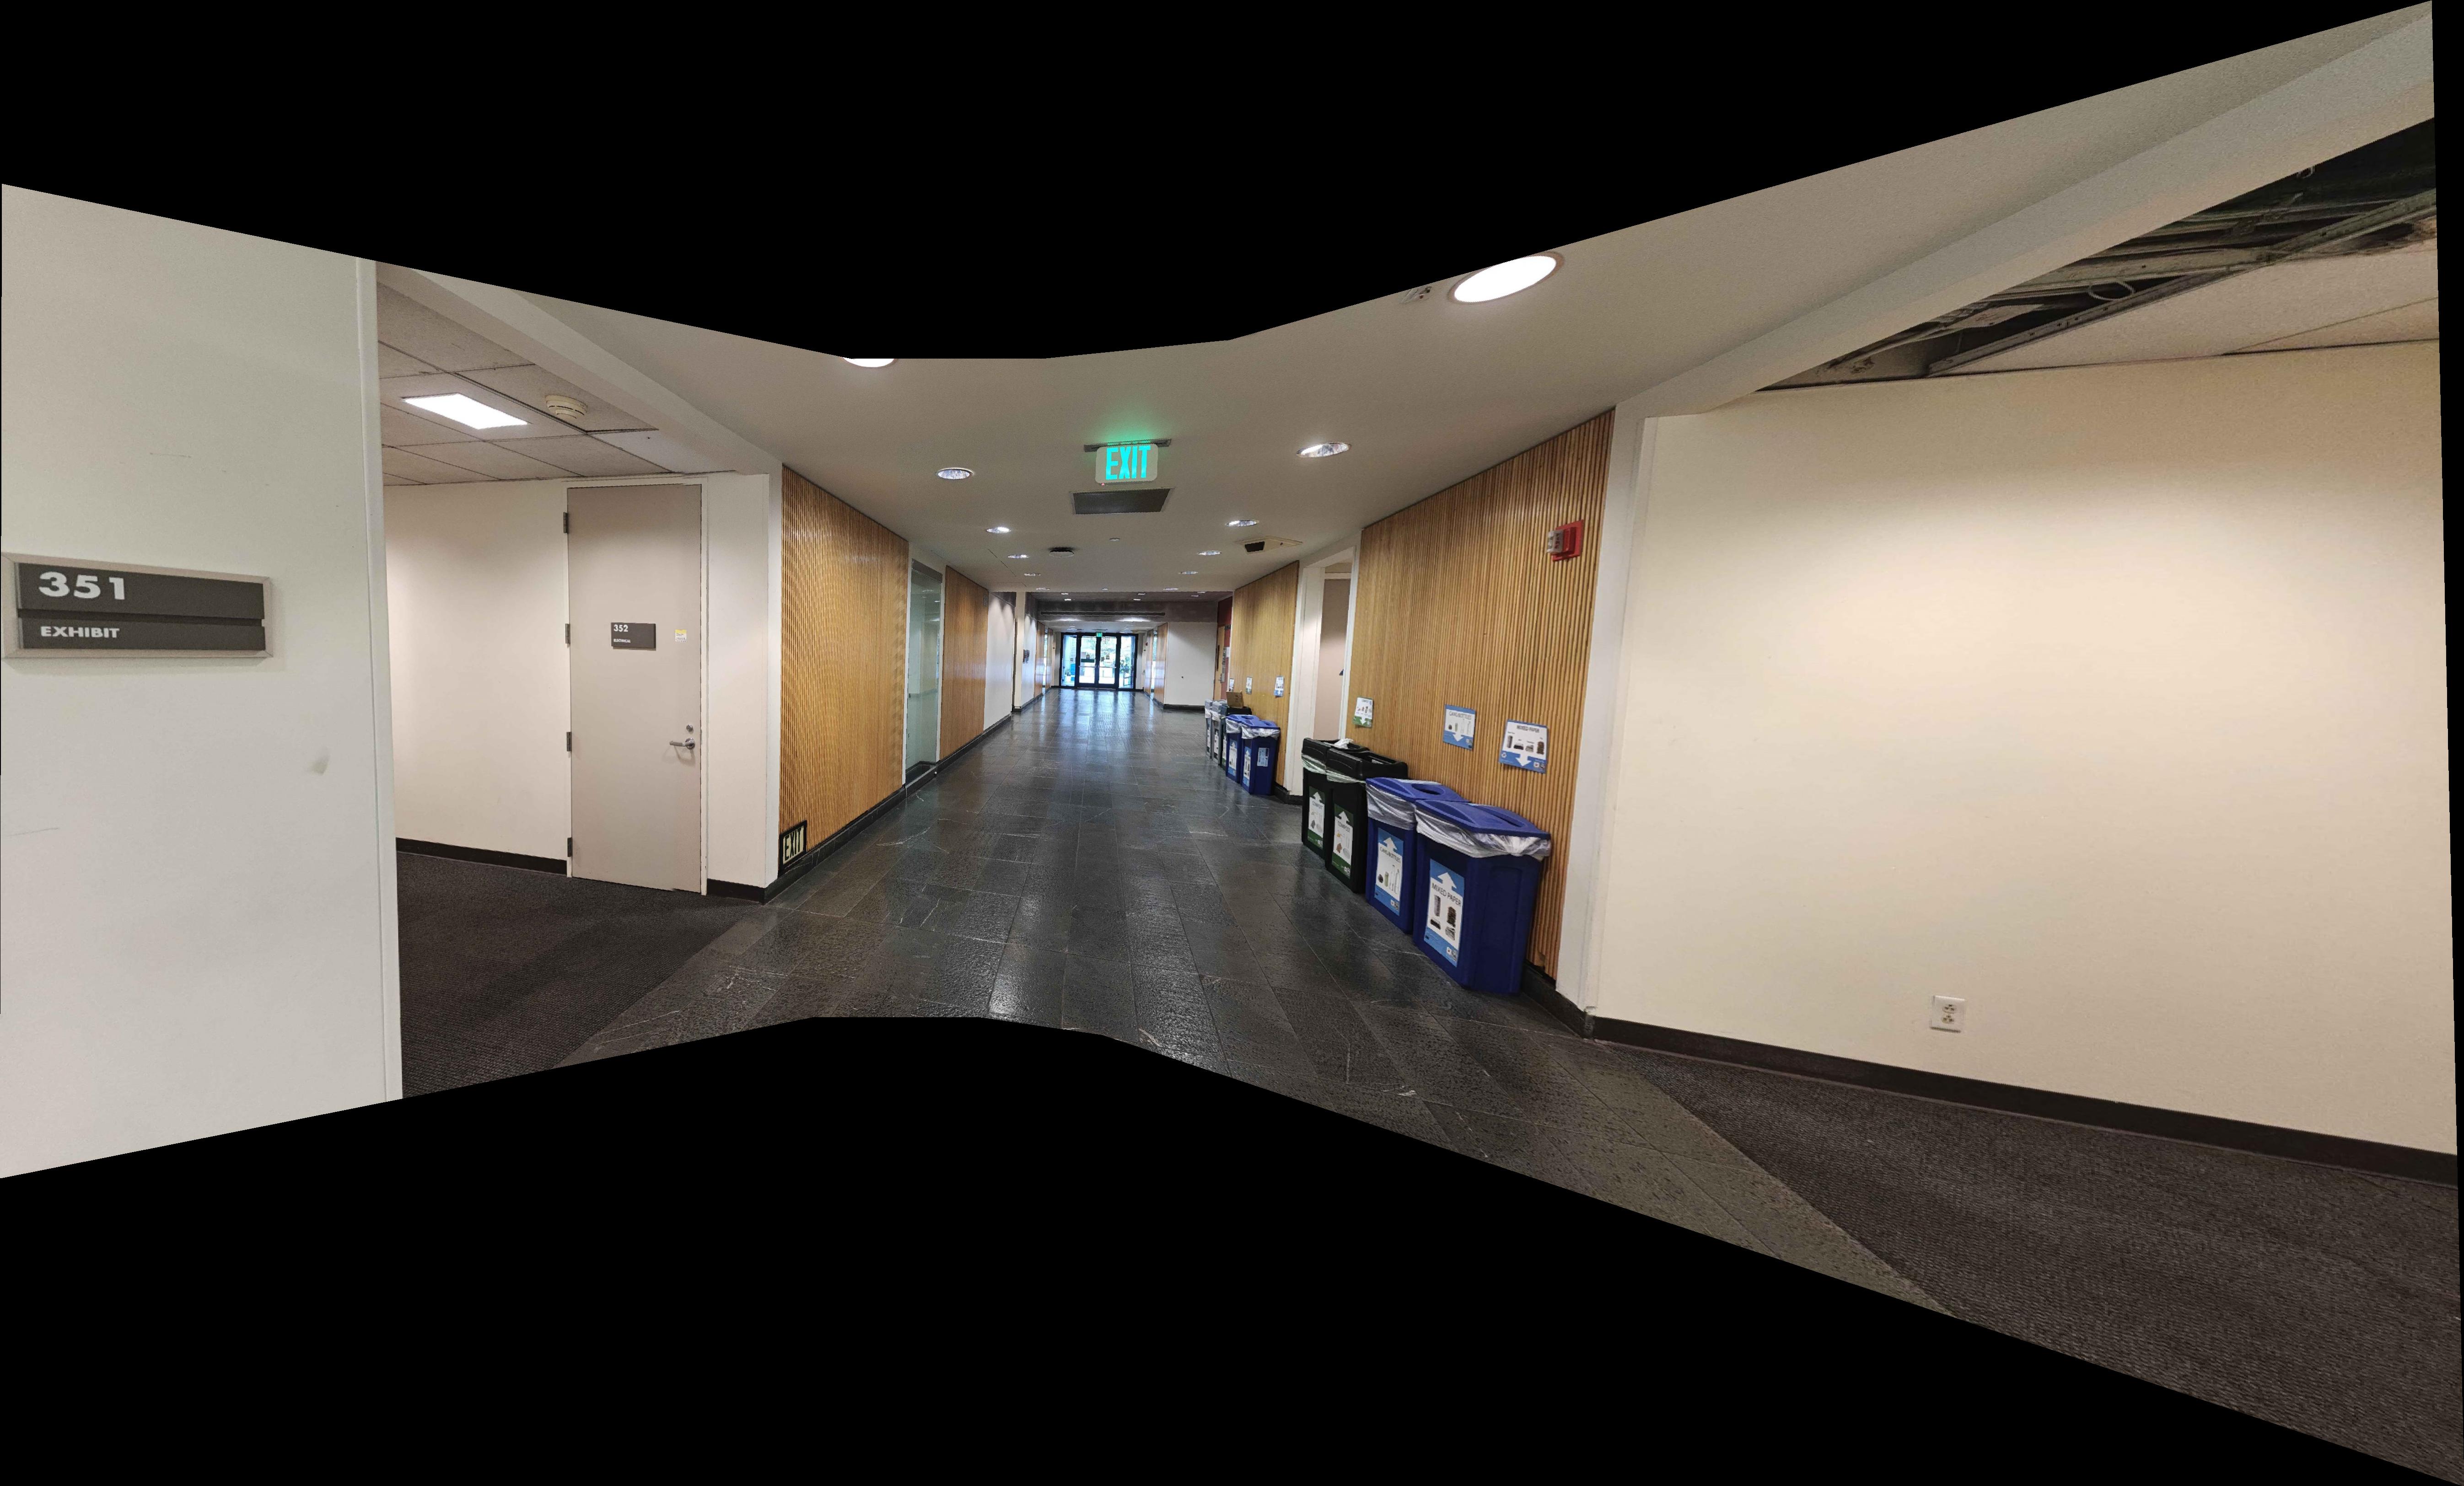
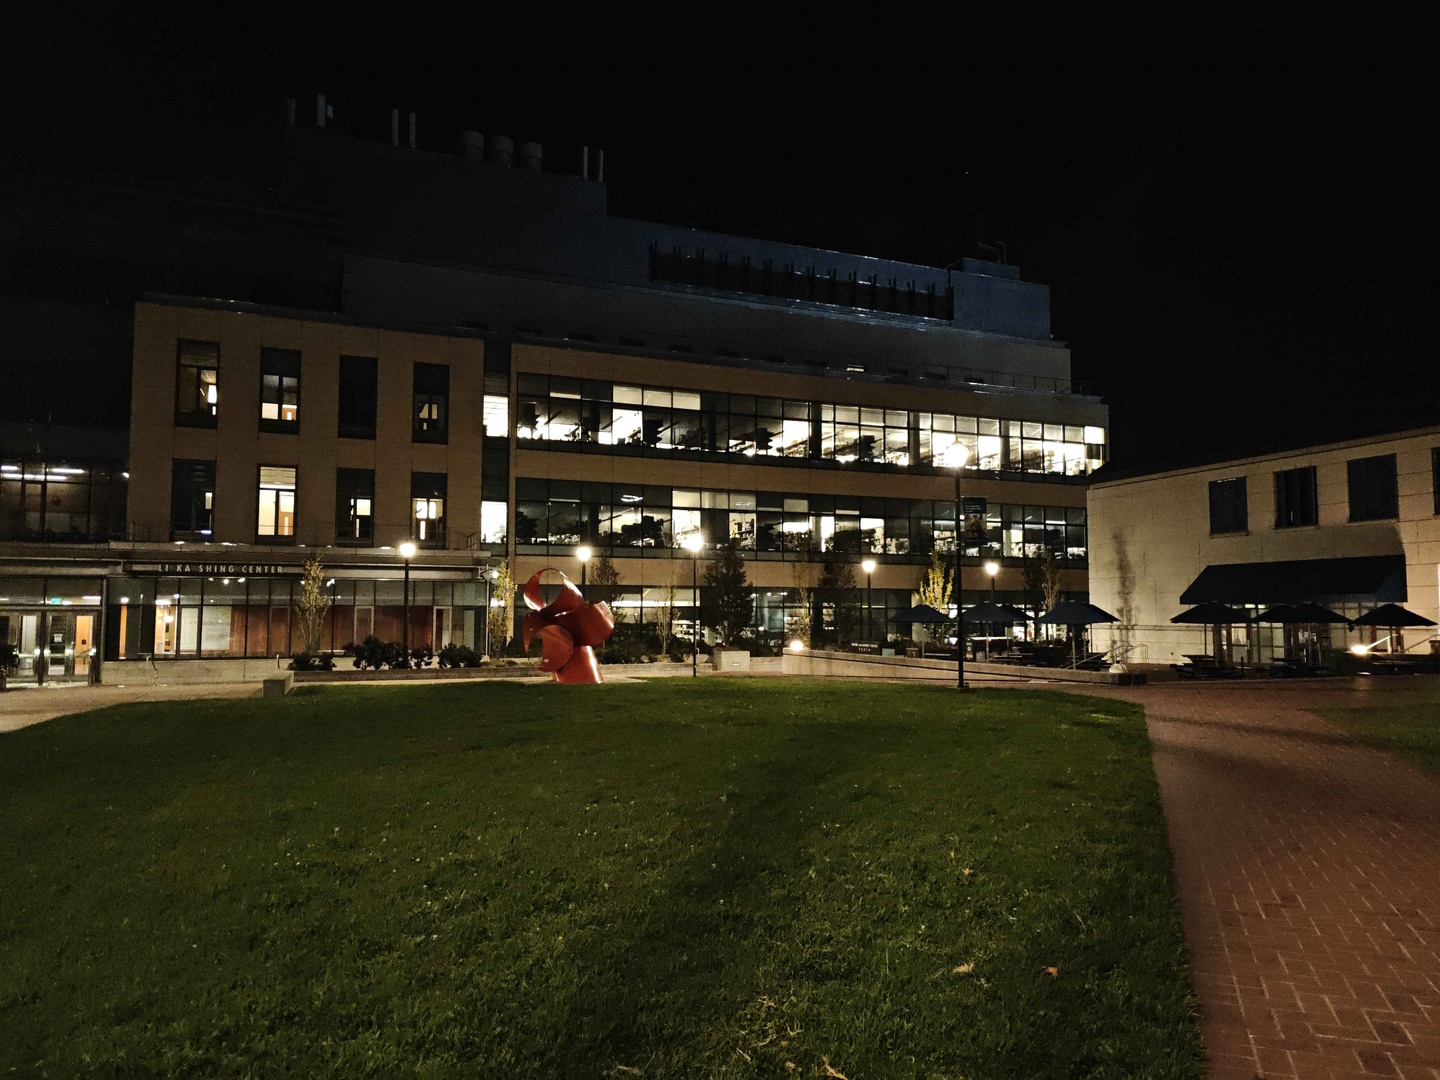
Below images are taken with suboptimal camera settings and small number of correspondence points




1 Detecting corner features.
2 Extracting feature descriptors.
3 Matching descriptors.
4 Apply RANSAC to remove outliers.
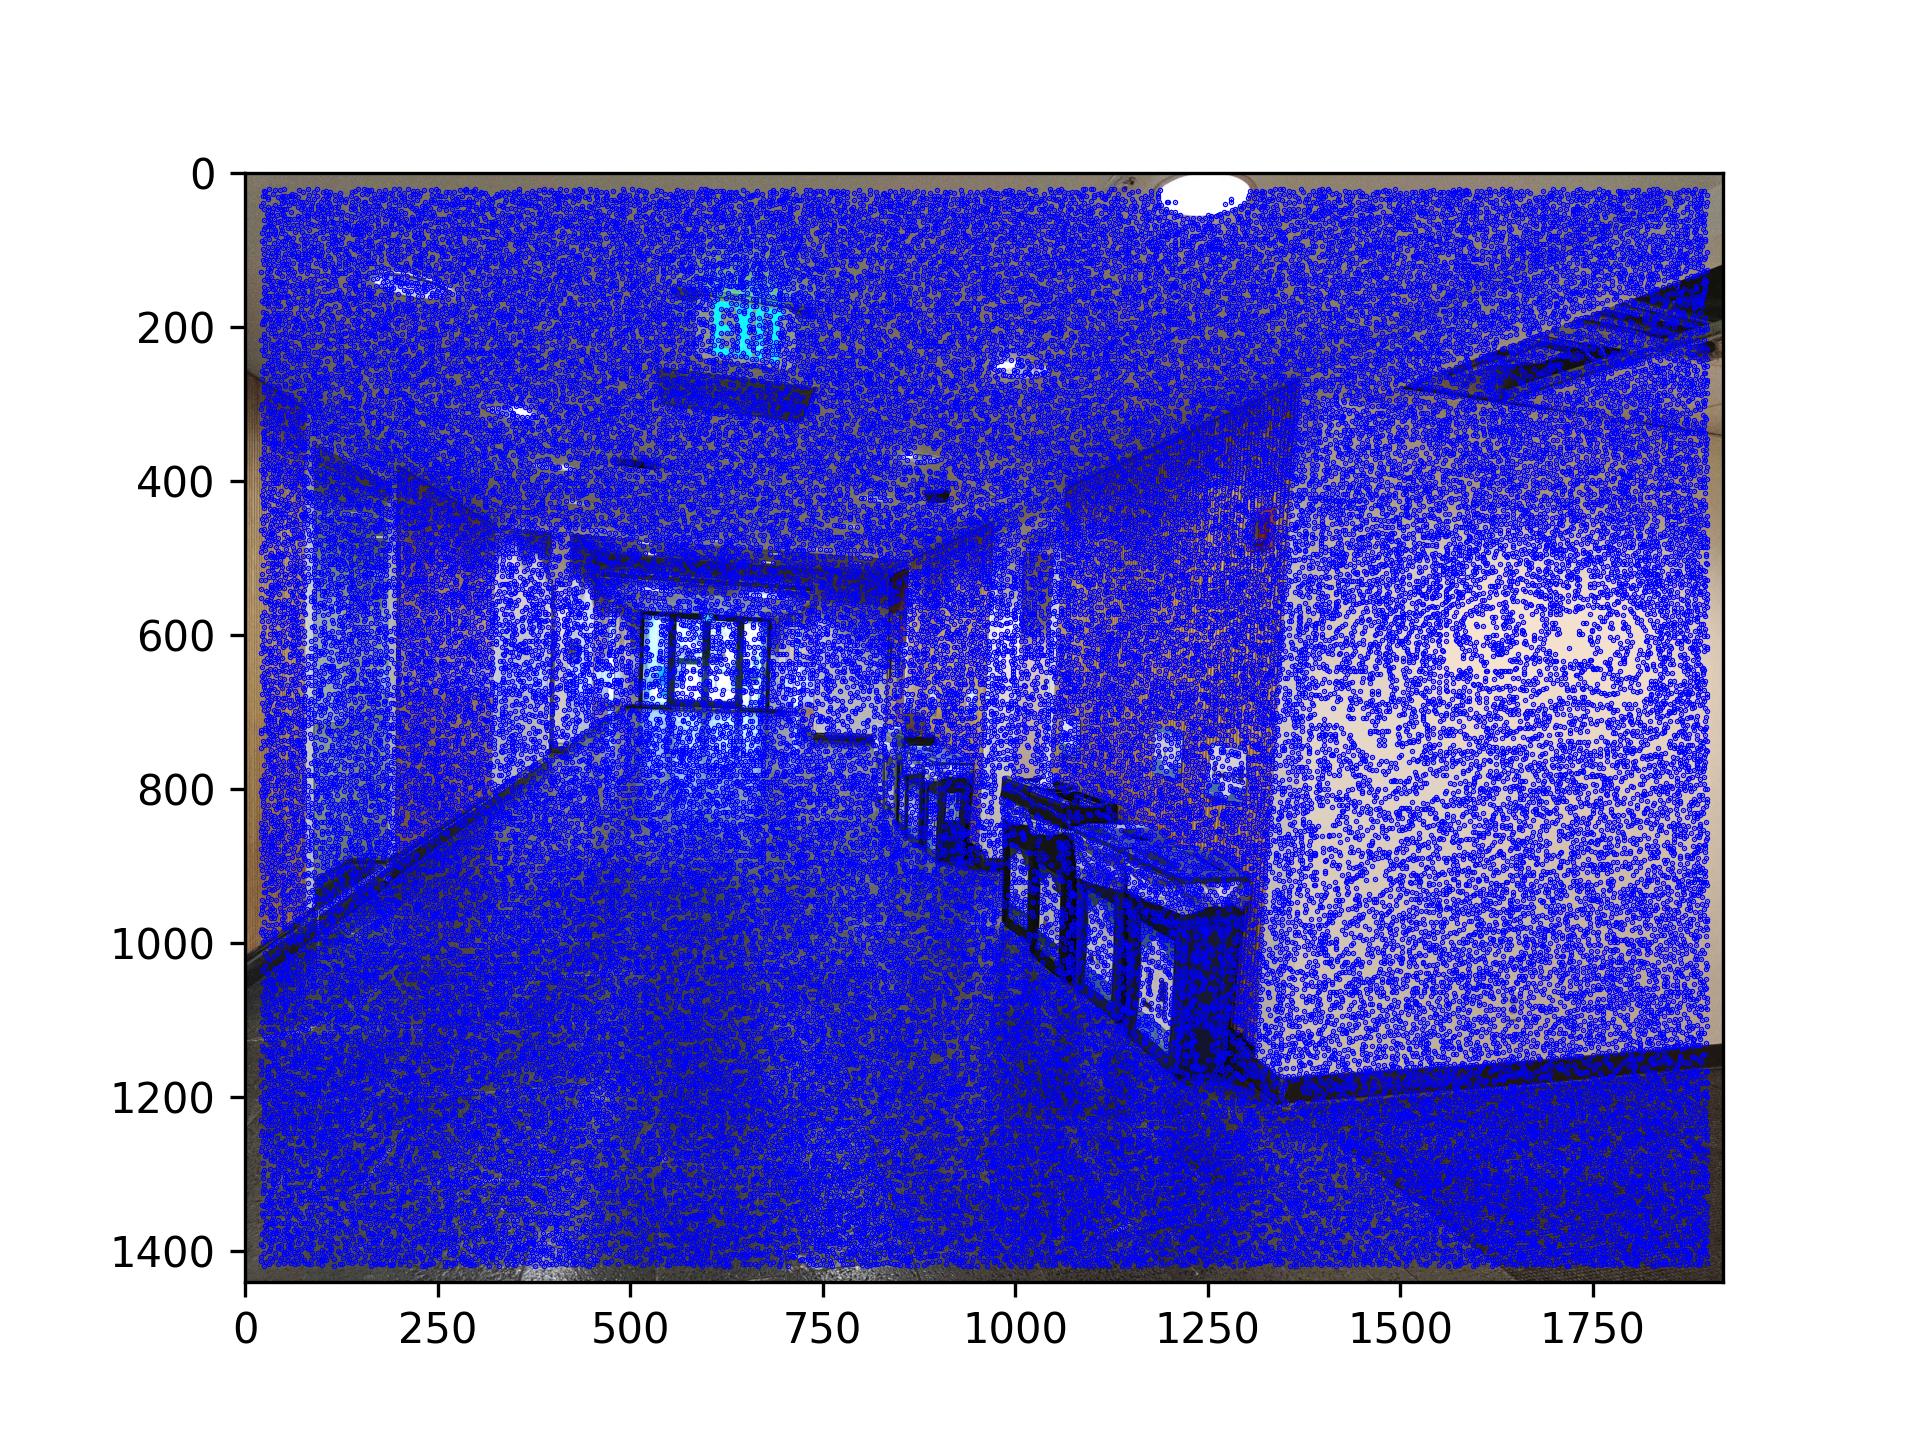
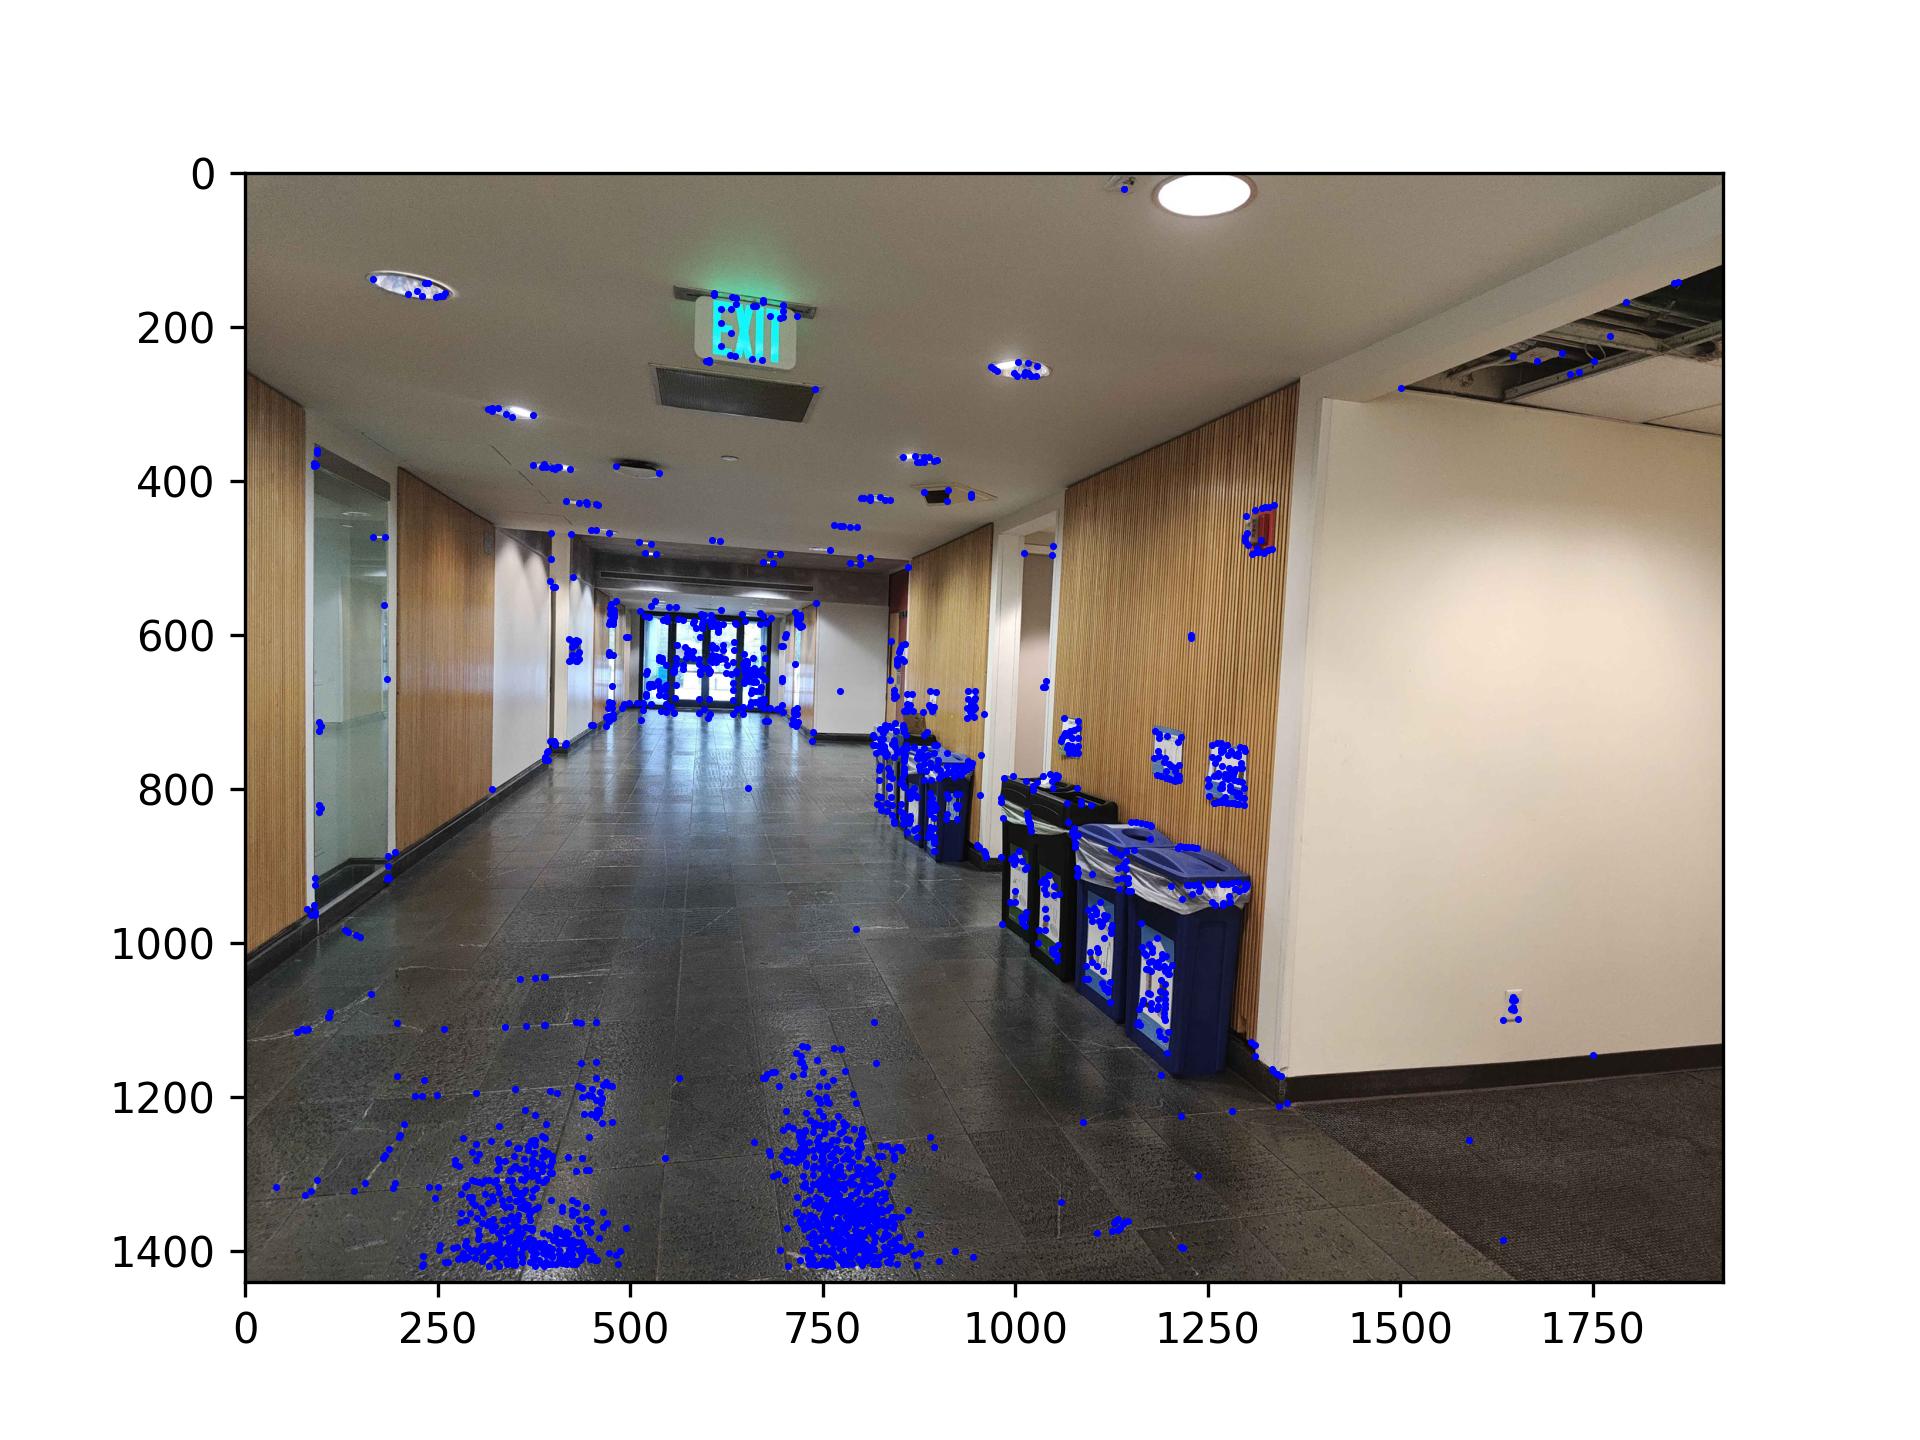
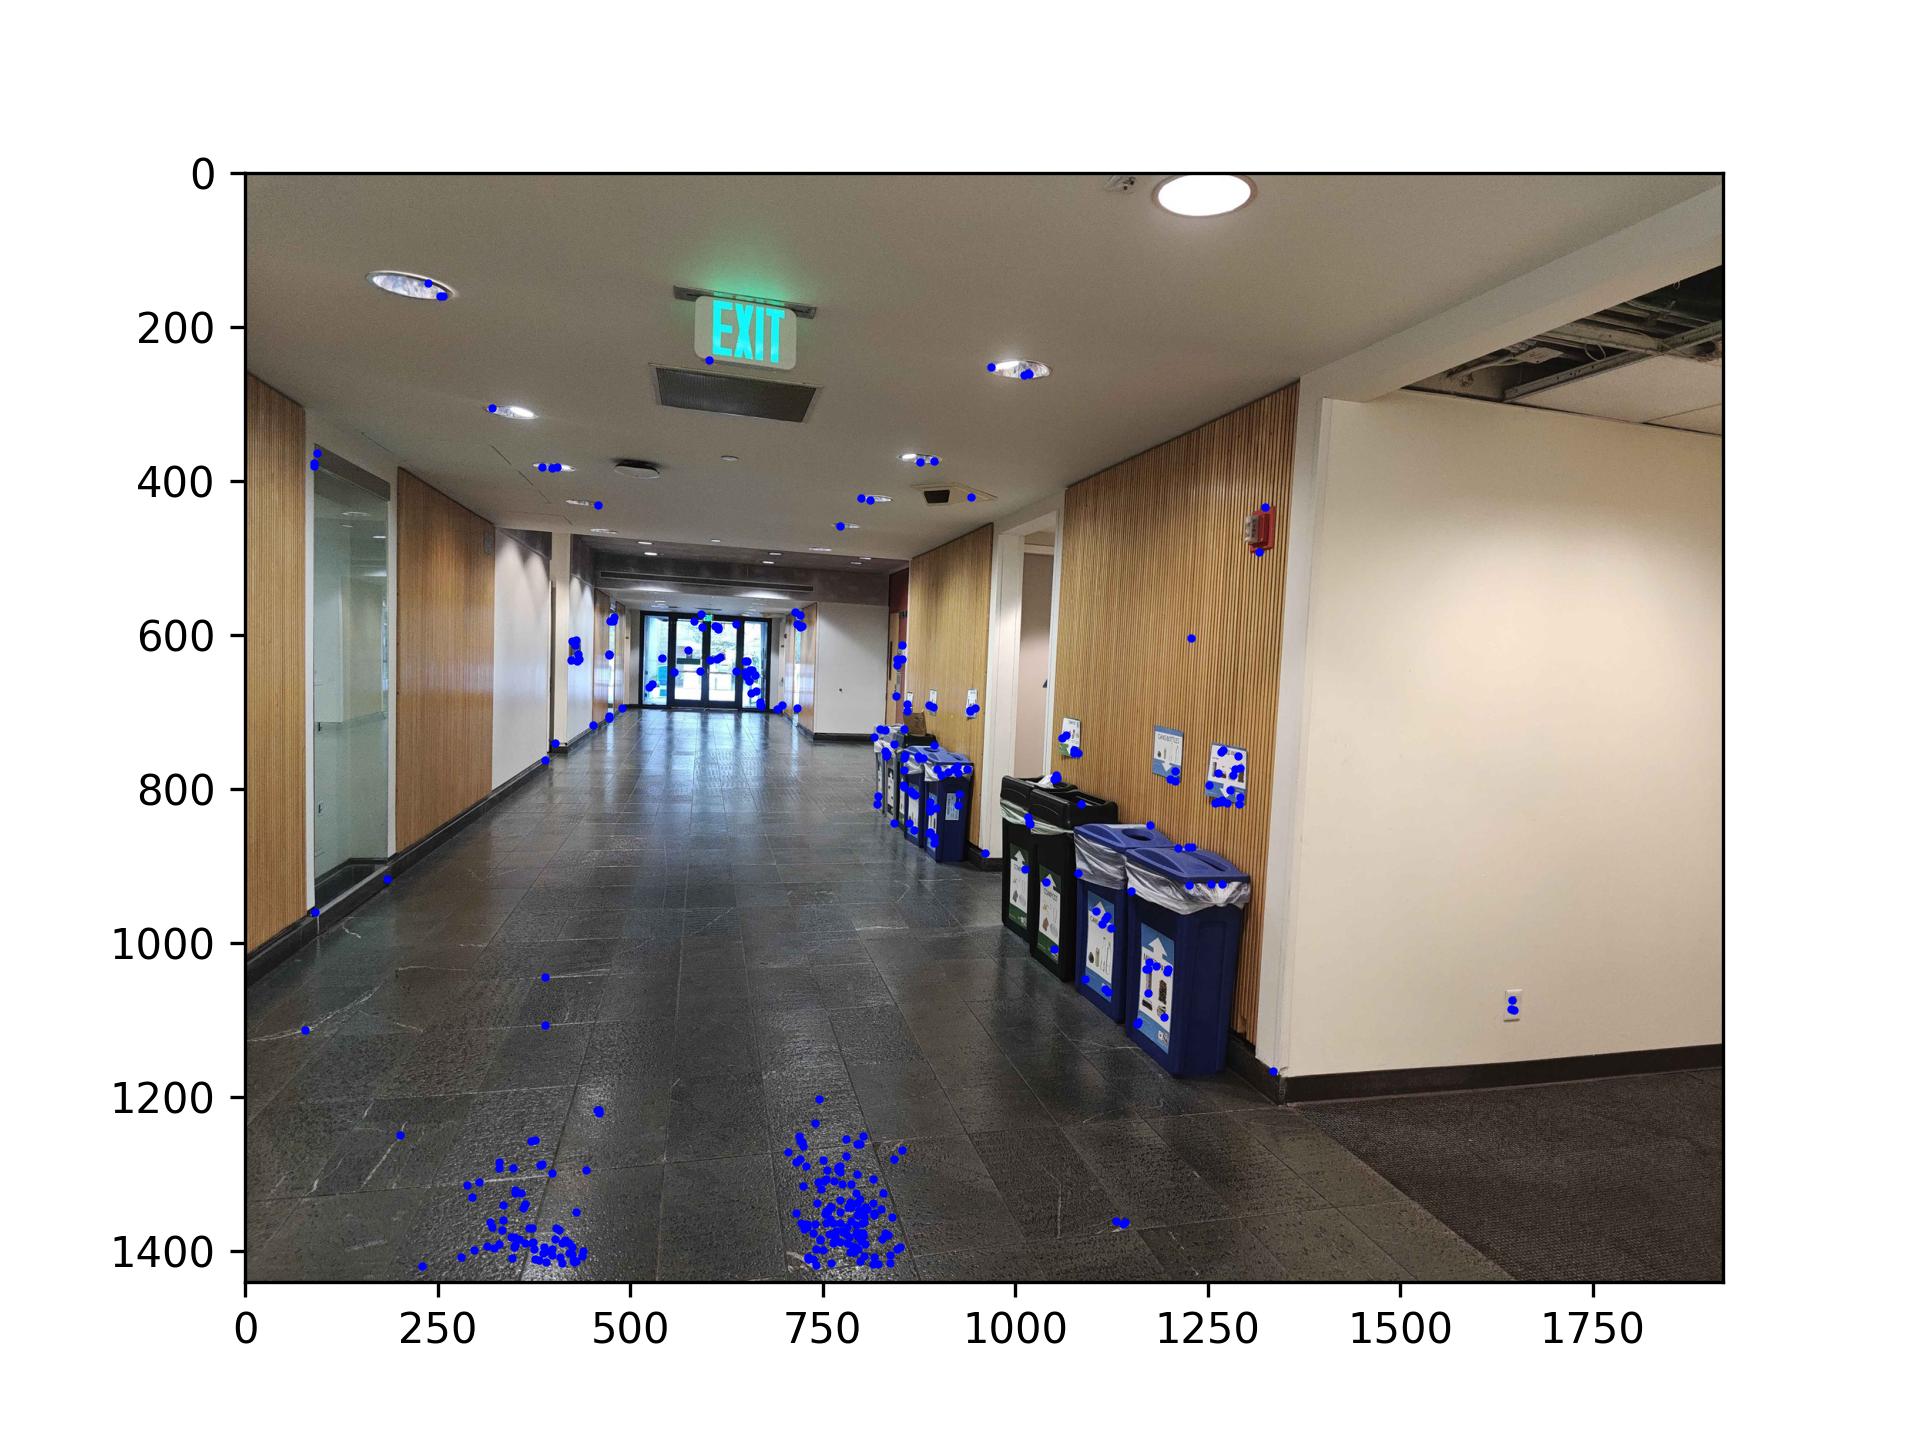
To detect corner features I used the given harris corners function. I then selected 2000 best points from that set and applied anms suppression to get 400 corners.
To get features of a point I took 40x40 region around each corner and resized it to 8x8 feature, this allows us to match those features in the future.
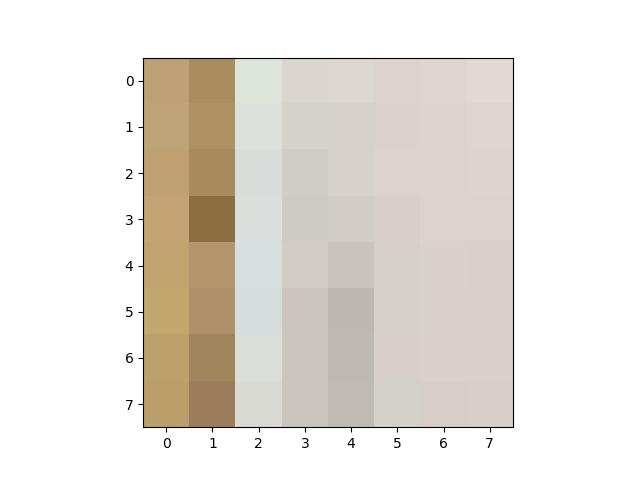
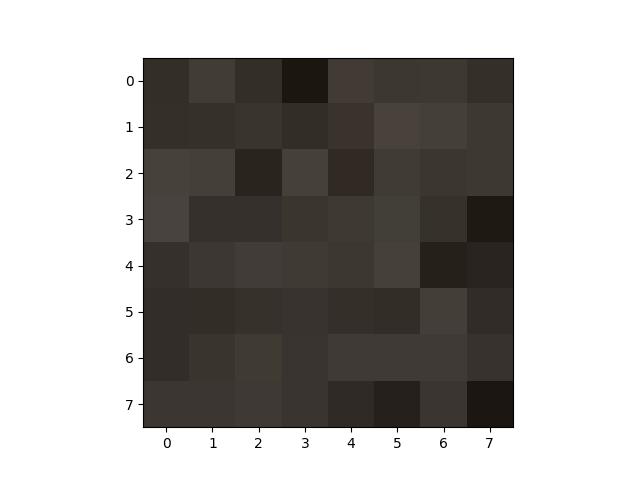
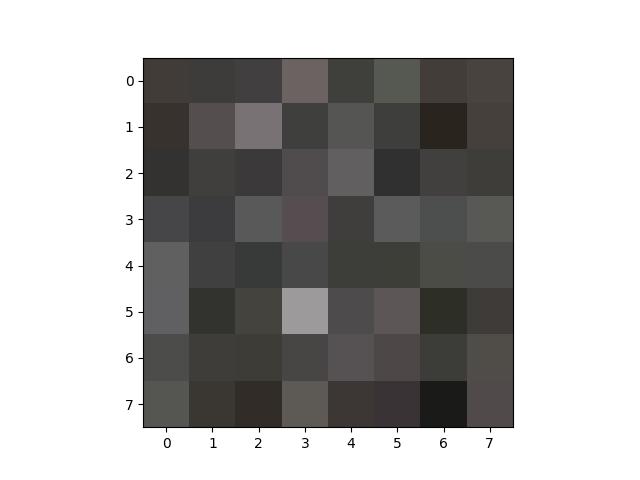
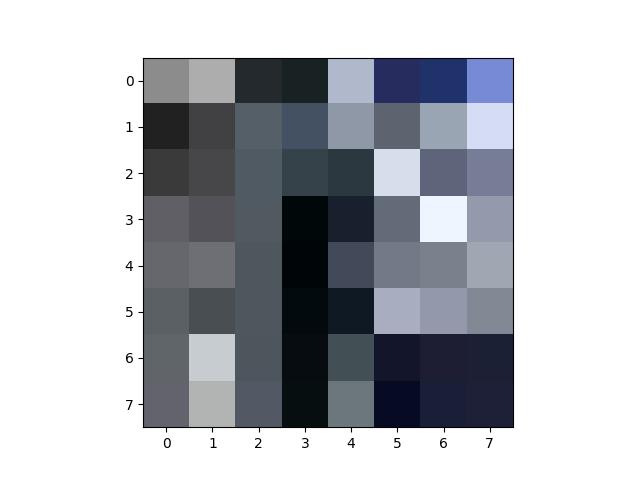
To find two features that match eachother, I found distance between every feature to every other feature, the lower the distance the most likely it is the match. I then used lowes thresholding to reduce the number of mismatches, if distance to best feature divided by distance to second best feature is above 0.4 I do not match them.
Here are the results after matching the features.
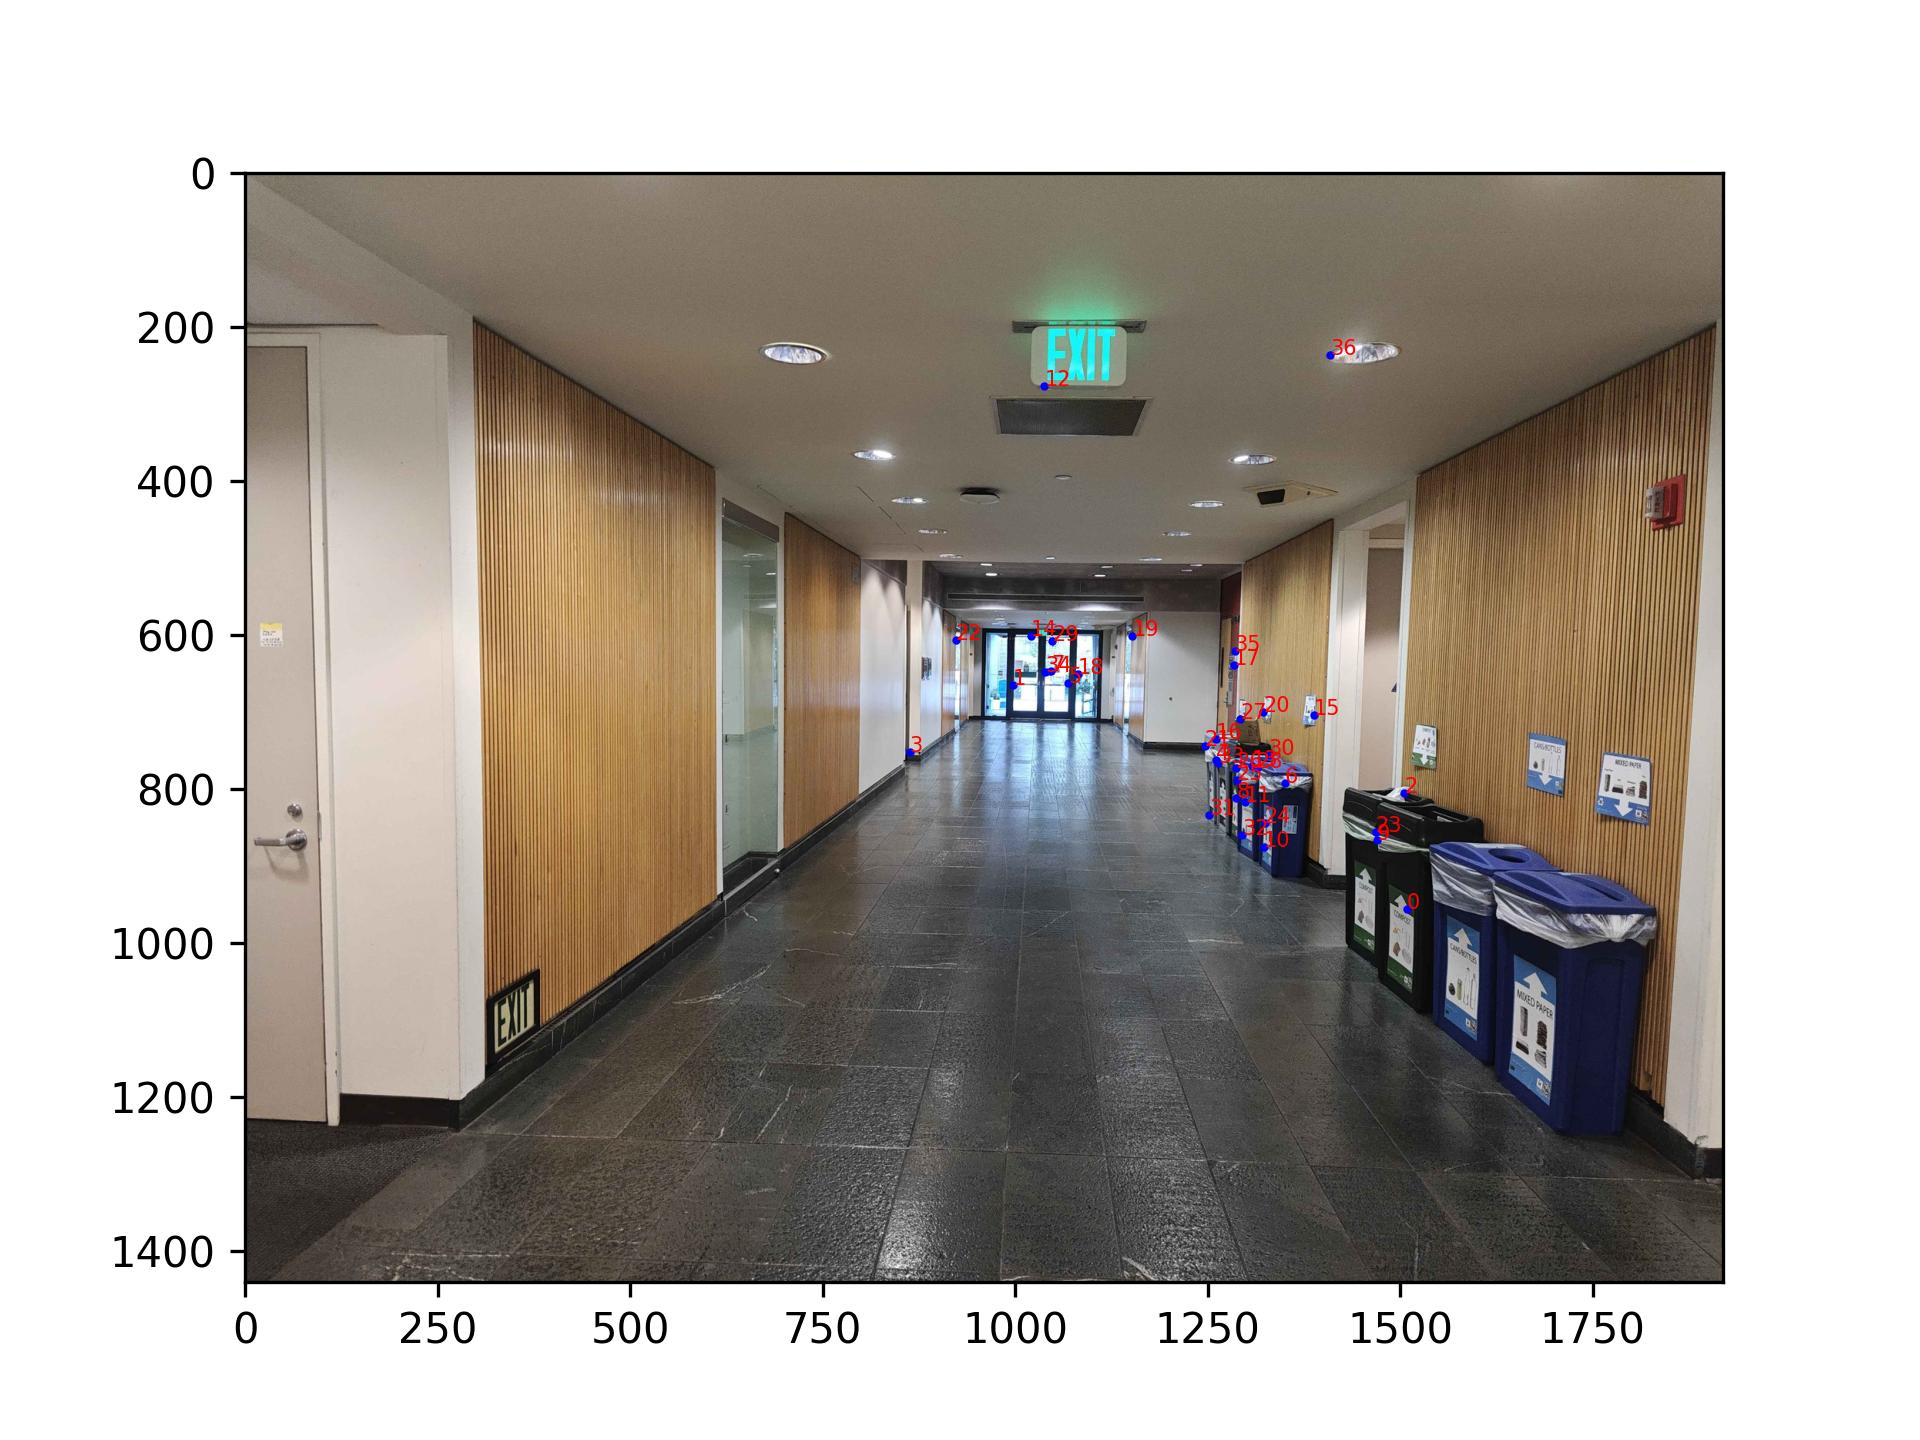
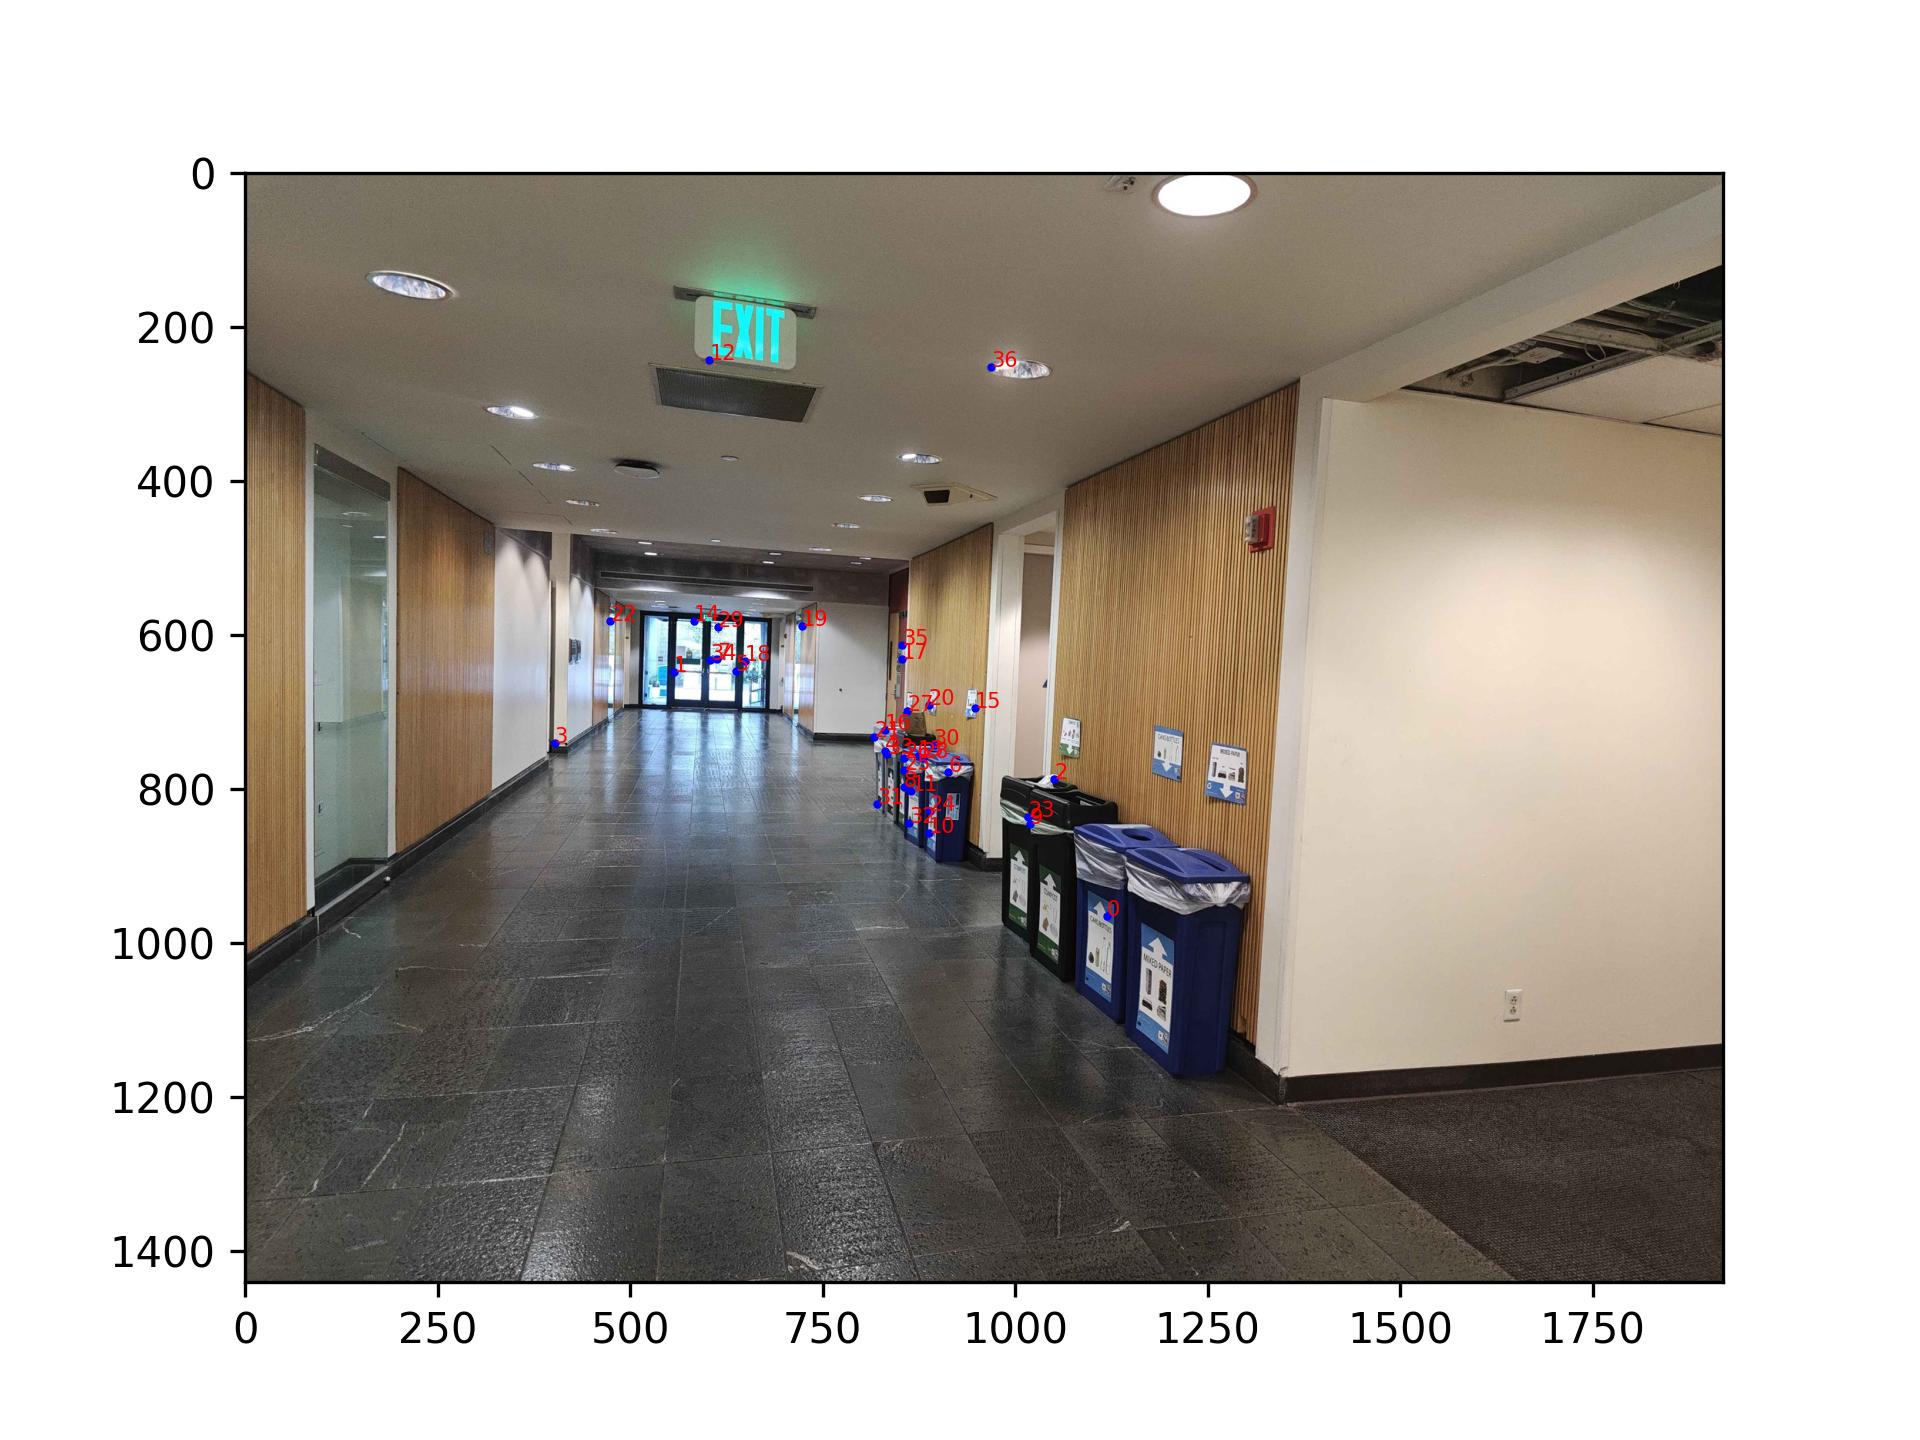
Notice the clear outlier - point 0. It is on the corner of the arrow on the trashcan, but its 1 trashcan off. To get rid of such outliers I used RANSAC
I ran RANSAC for 500 iterations, altho it should be more since its quite fast, but mine worked good. For each iteration select 4 random matched corners, compute direct homography from them, apply direct homography to all the points in image 1 and find the distance to corresponding point in image 2. If the distance is below threshold(1px for me) then add to inliers, otherwise add to outliers. At the end of all iterations choose the set with highest number of inliers and discard outliers.
Here are the results after running ransac on the images, the most important thing to note is how it removed trashcan outlier.
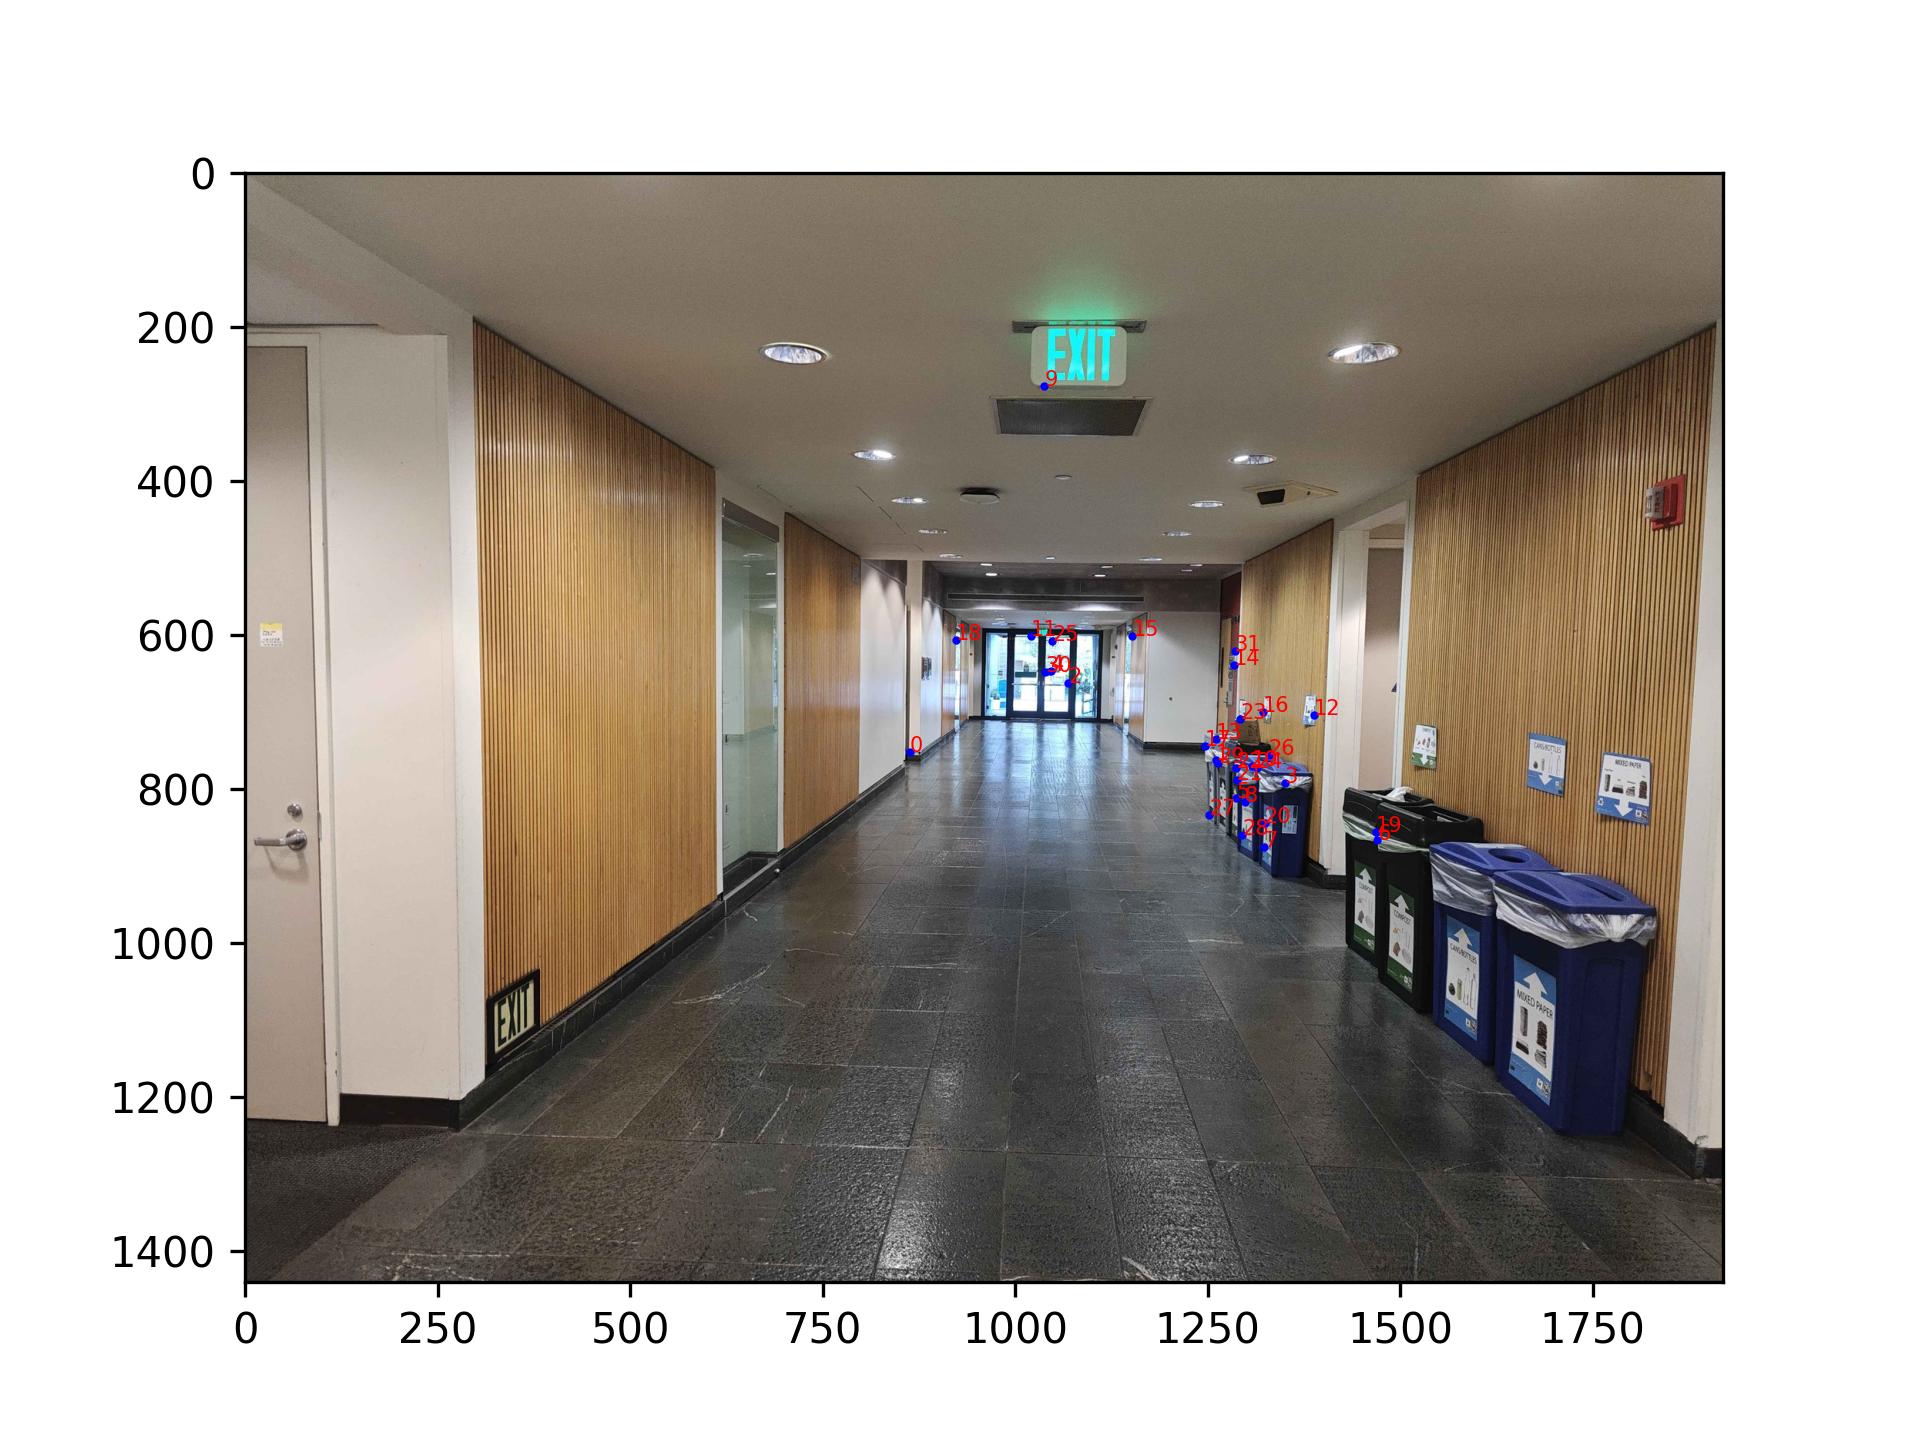
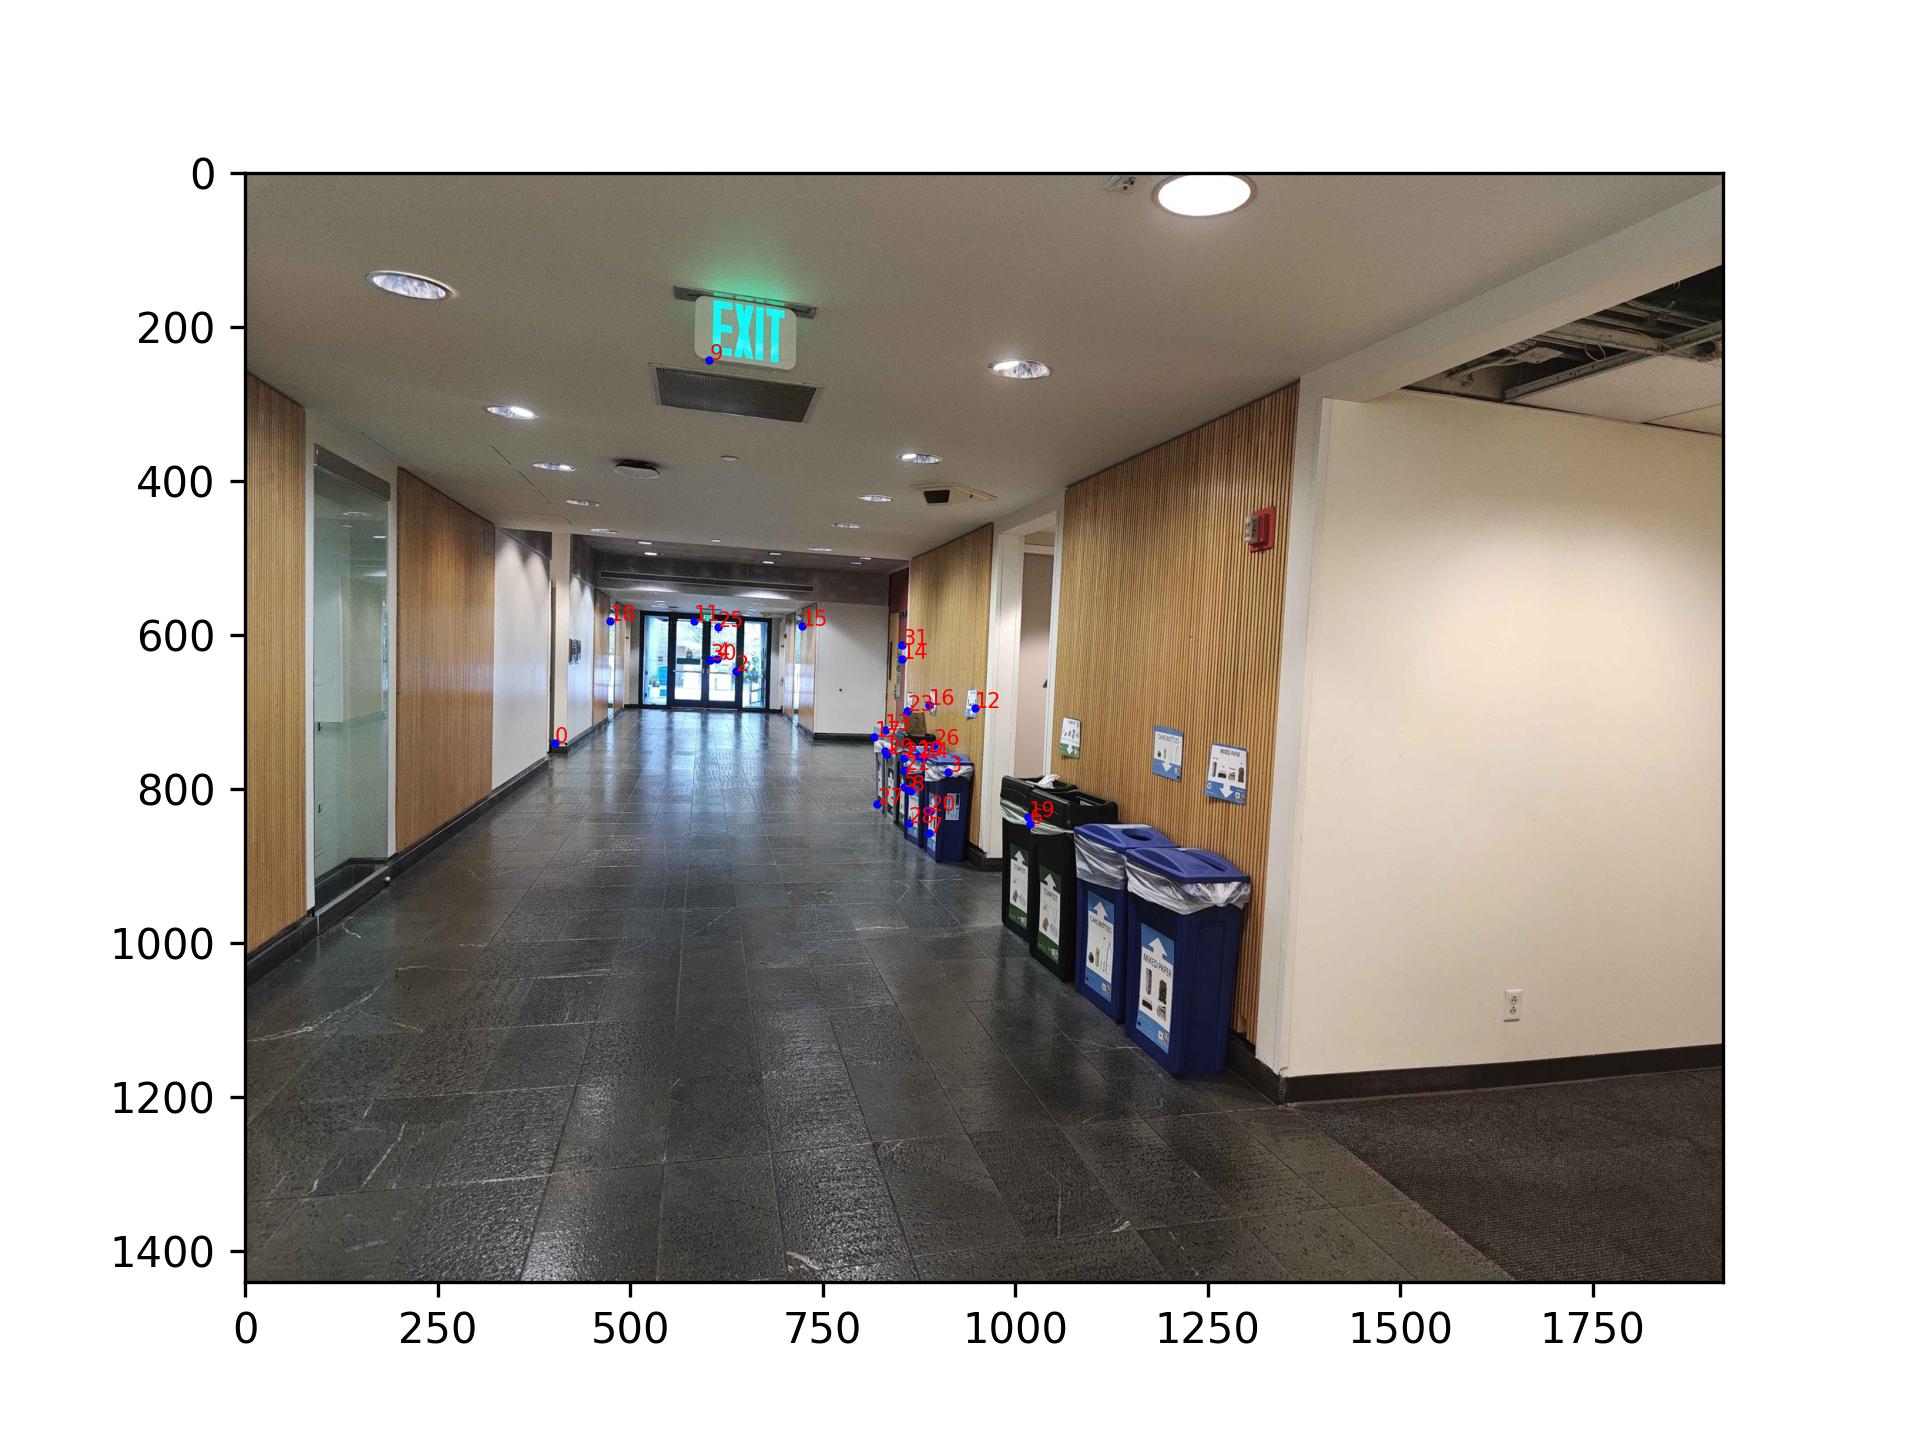
Here are some images stiched with manually selected points and some images with automatically selected points.

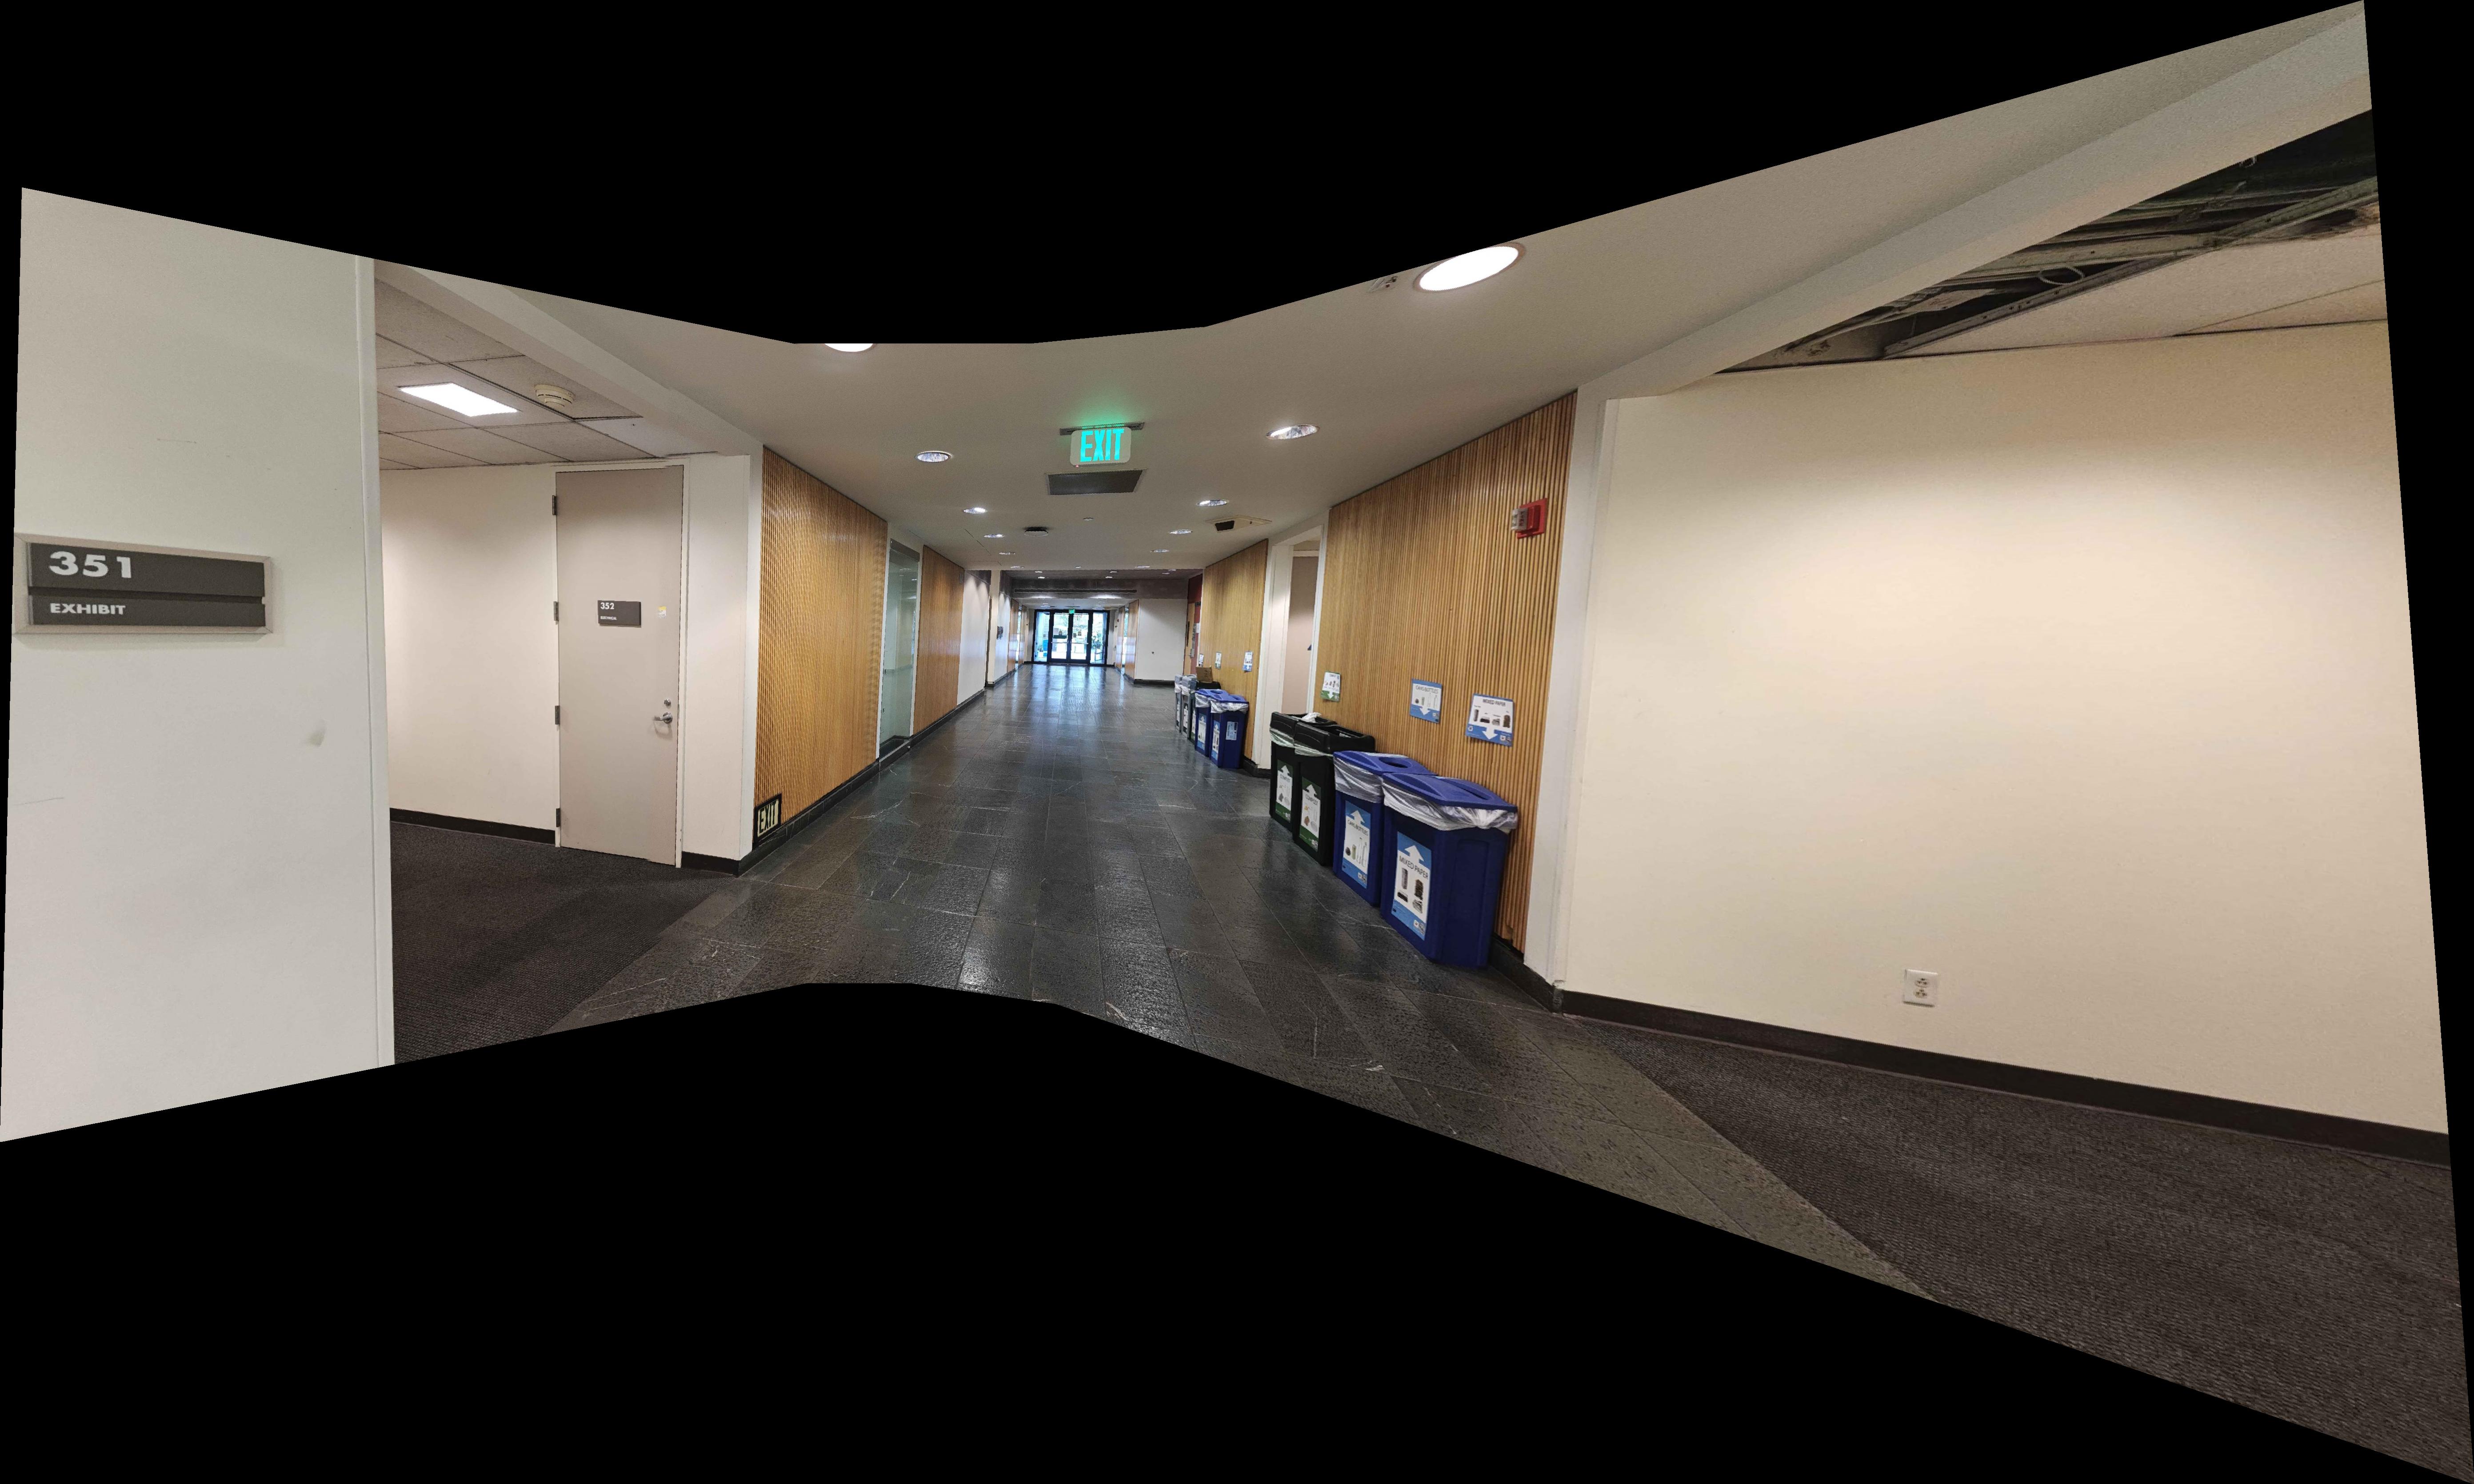

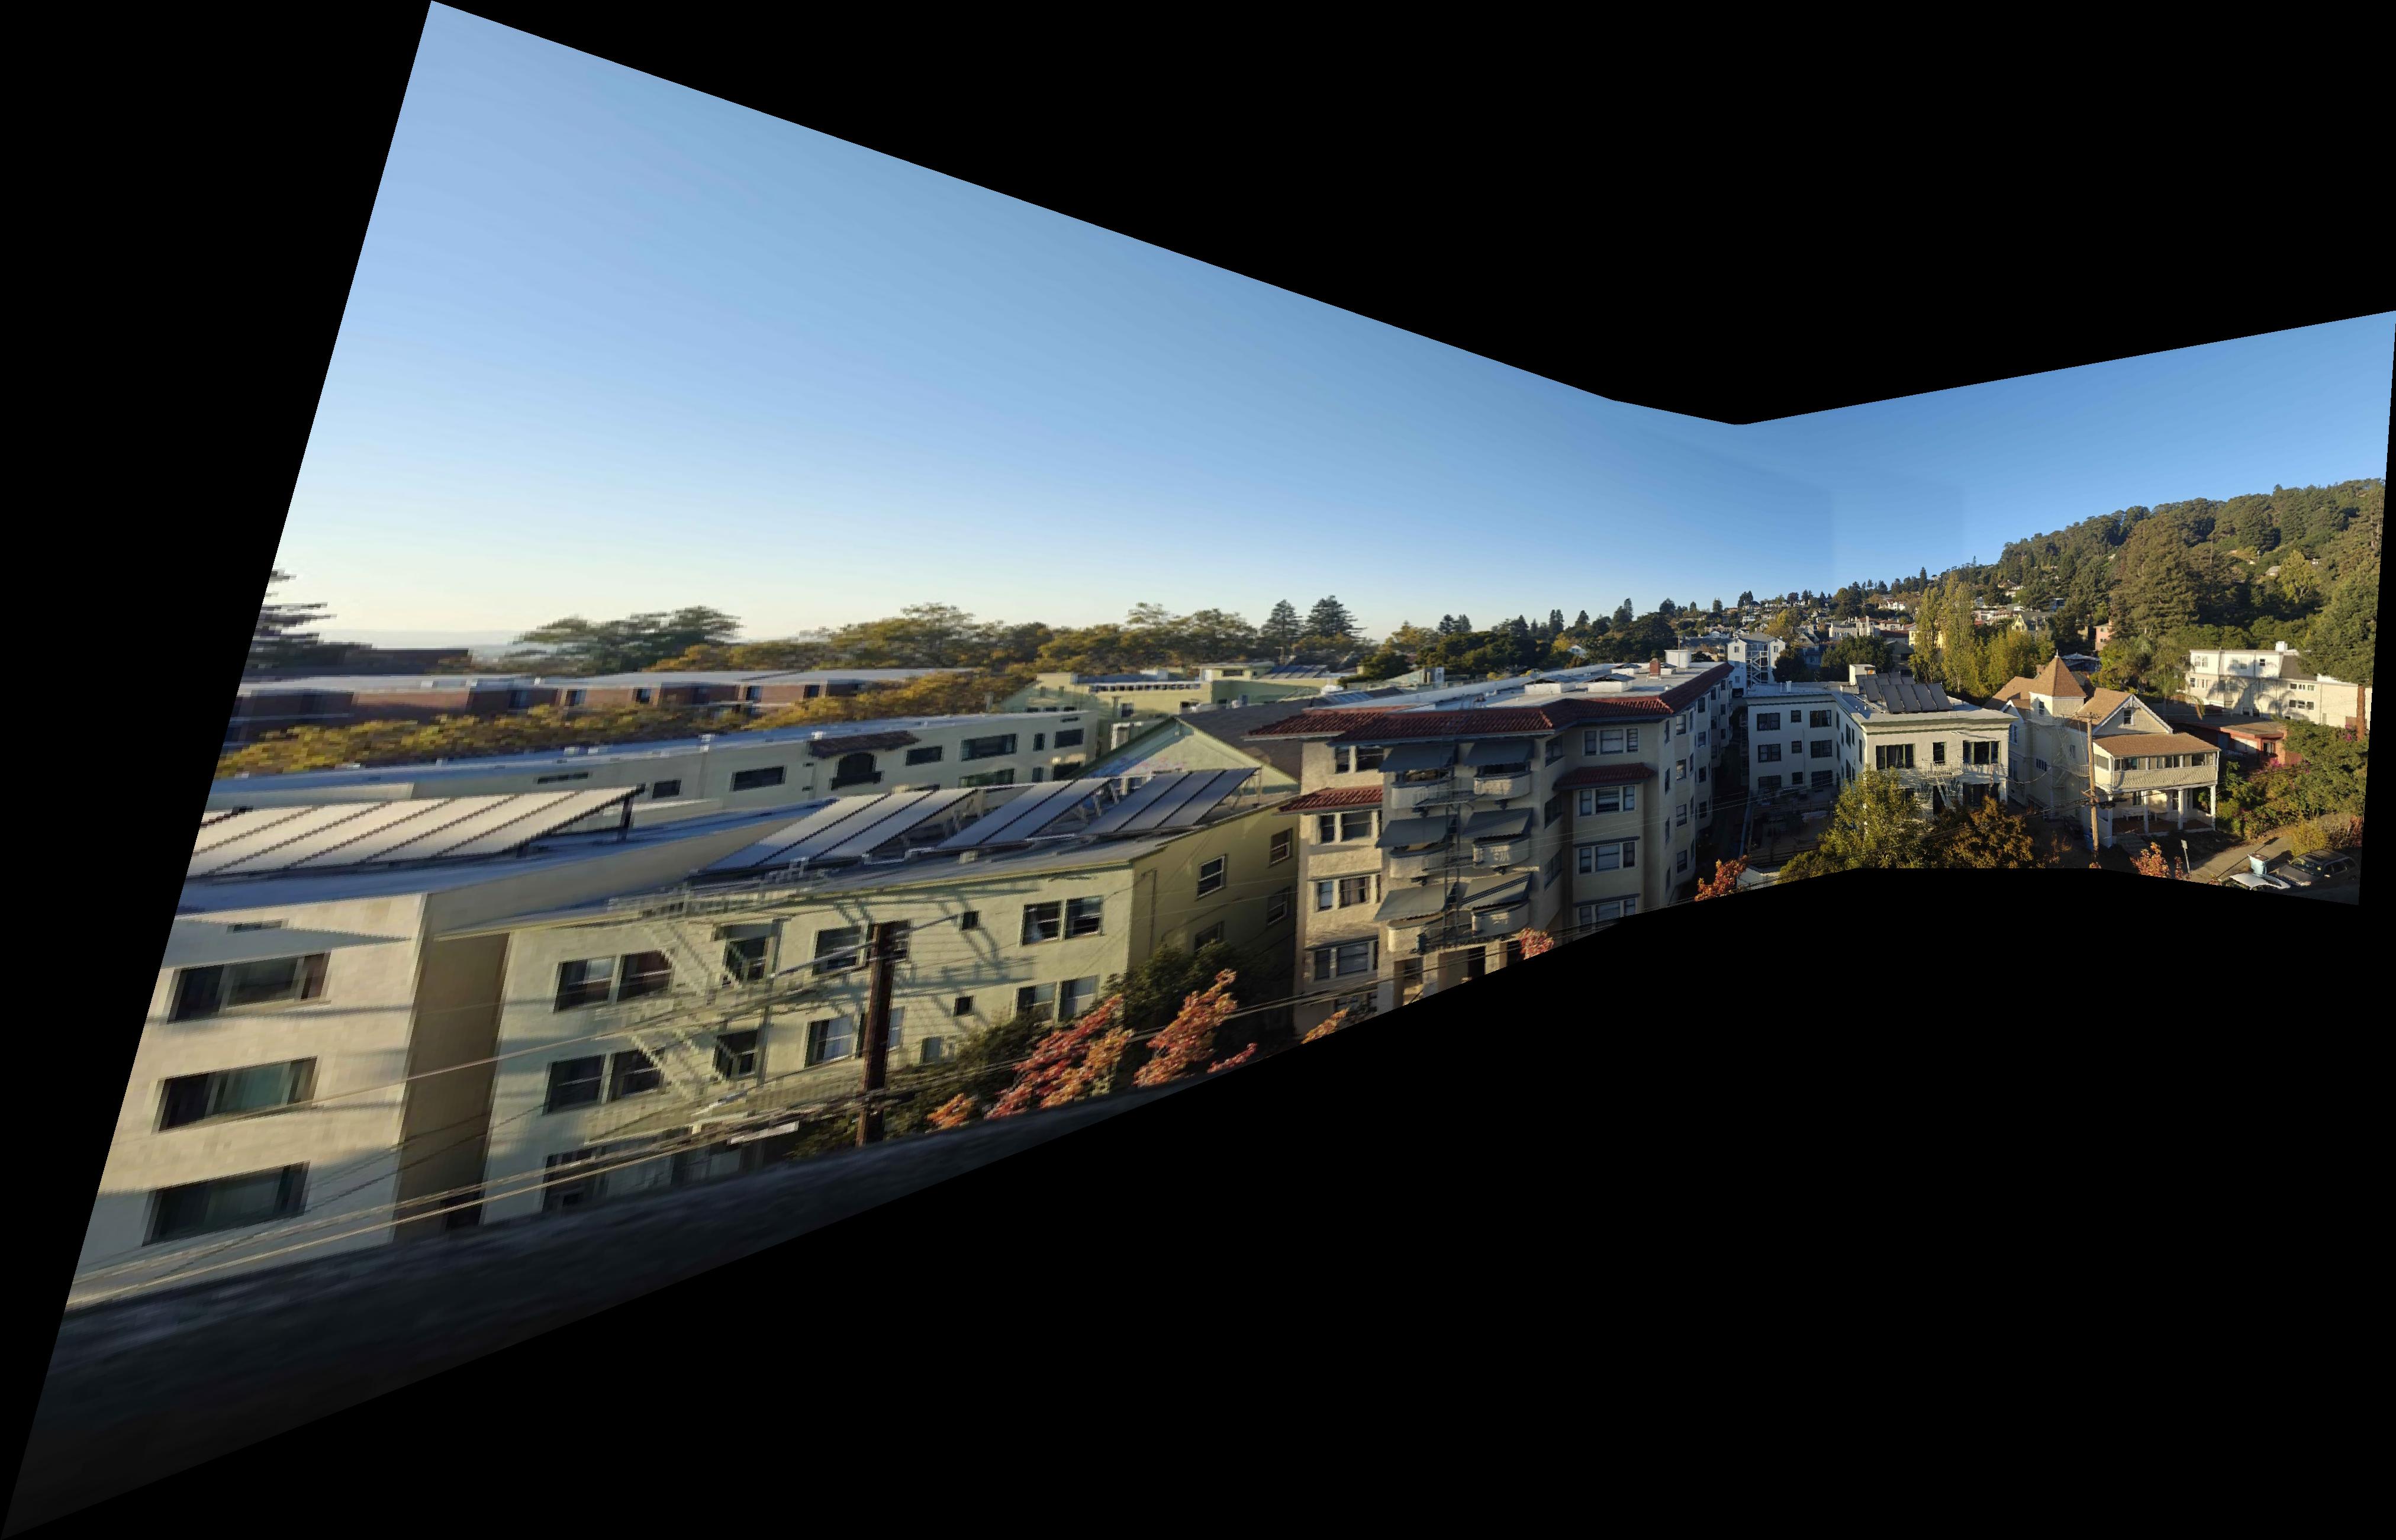

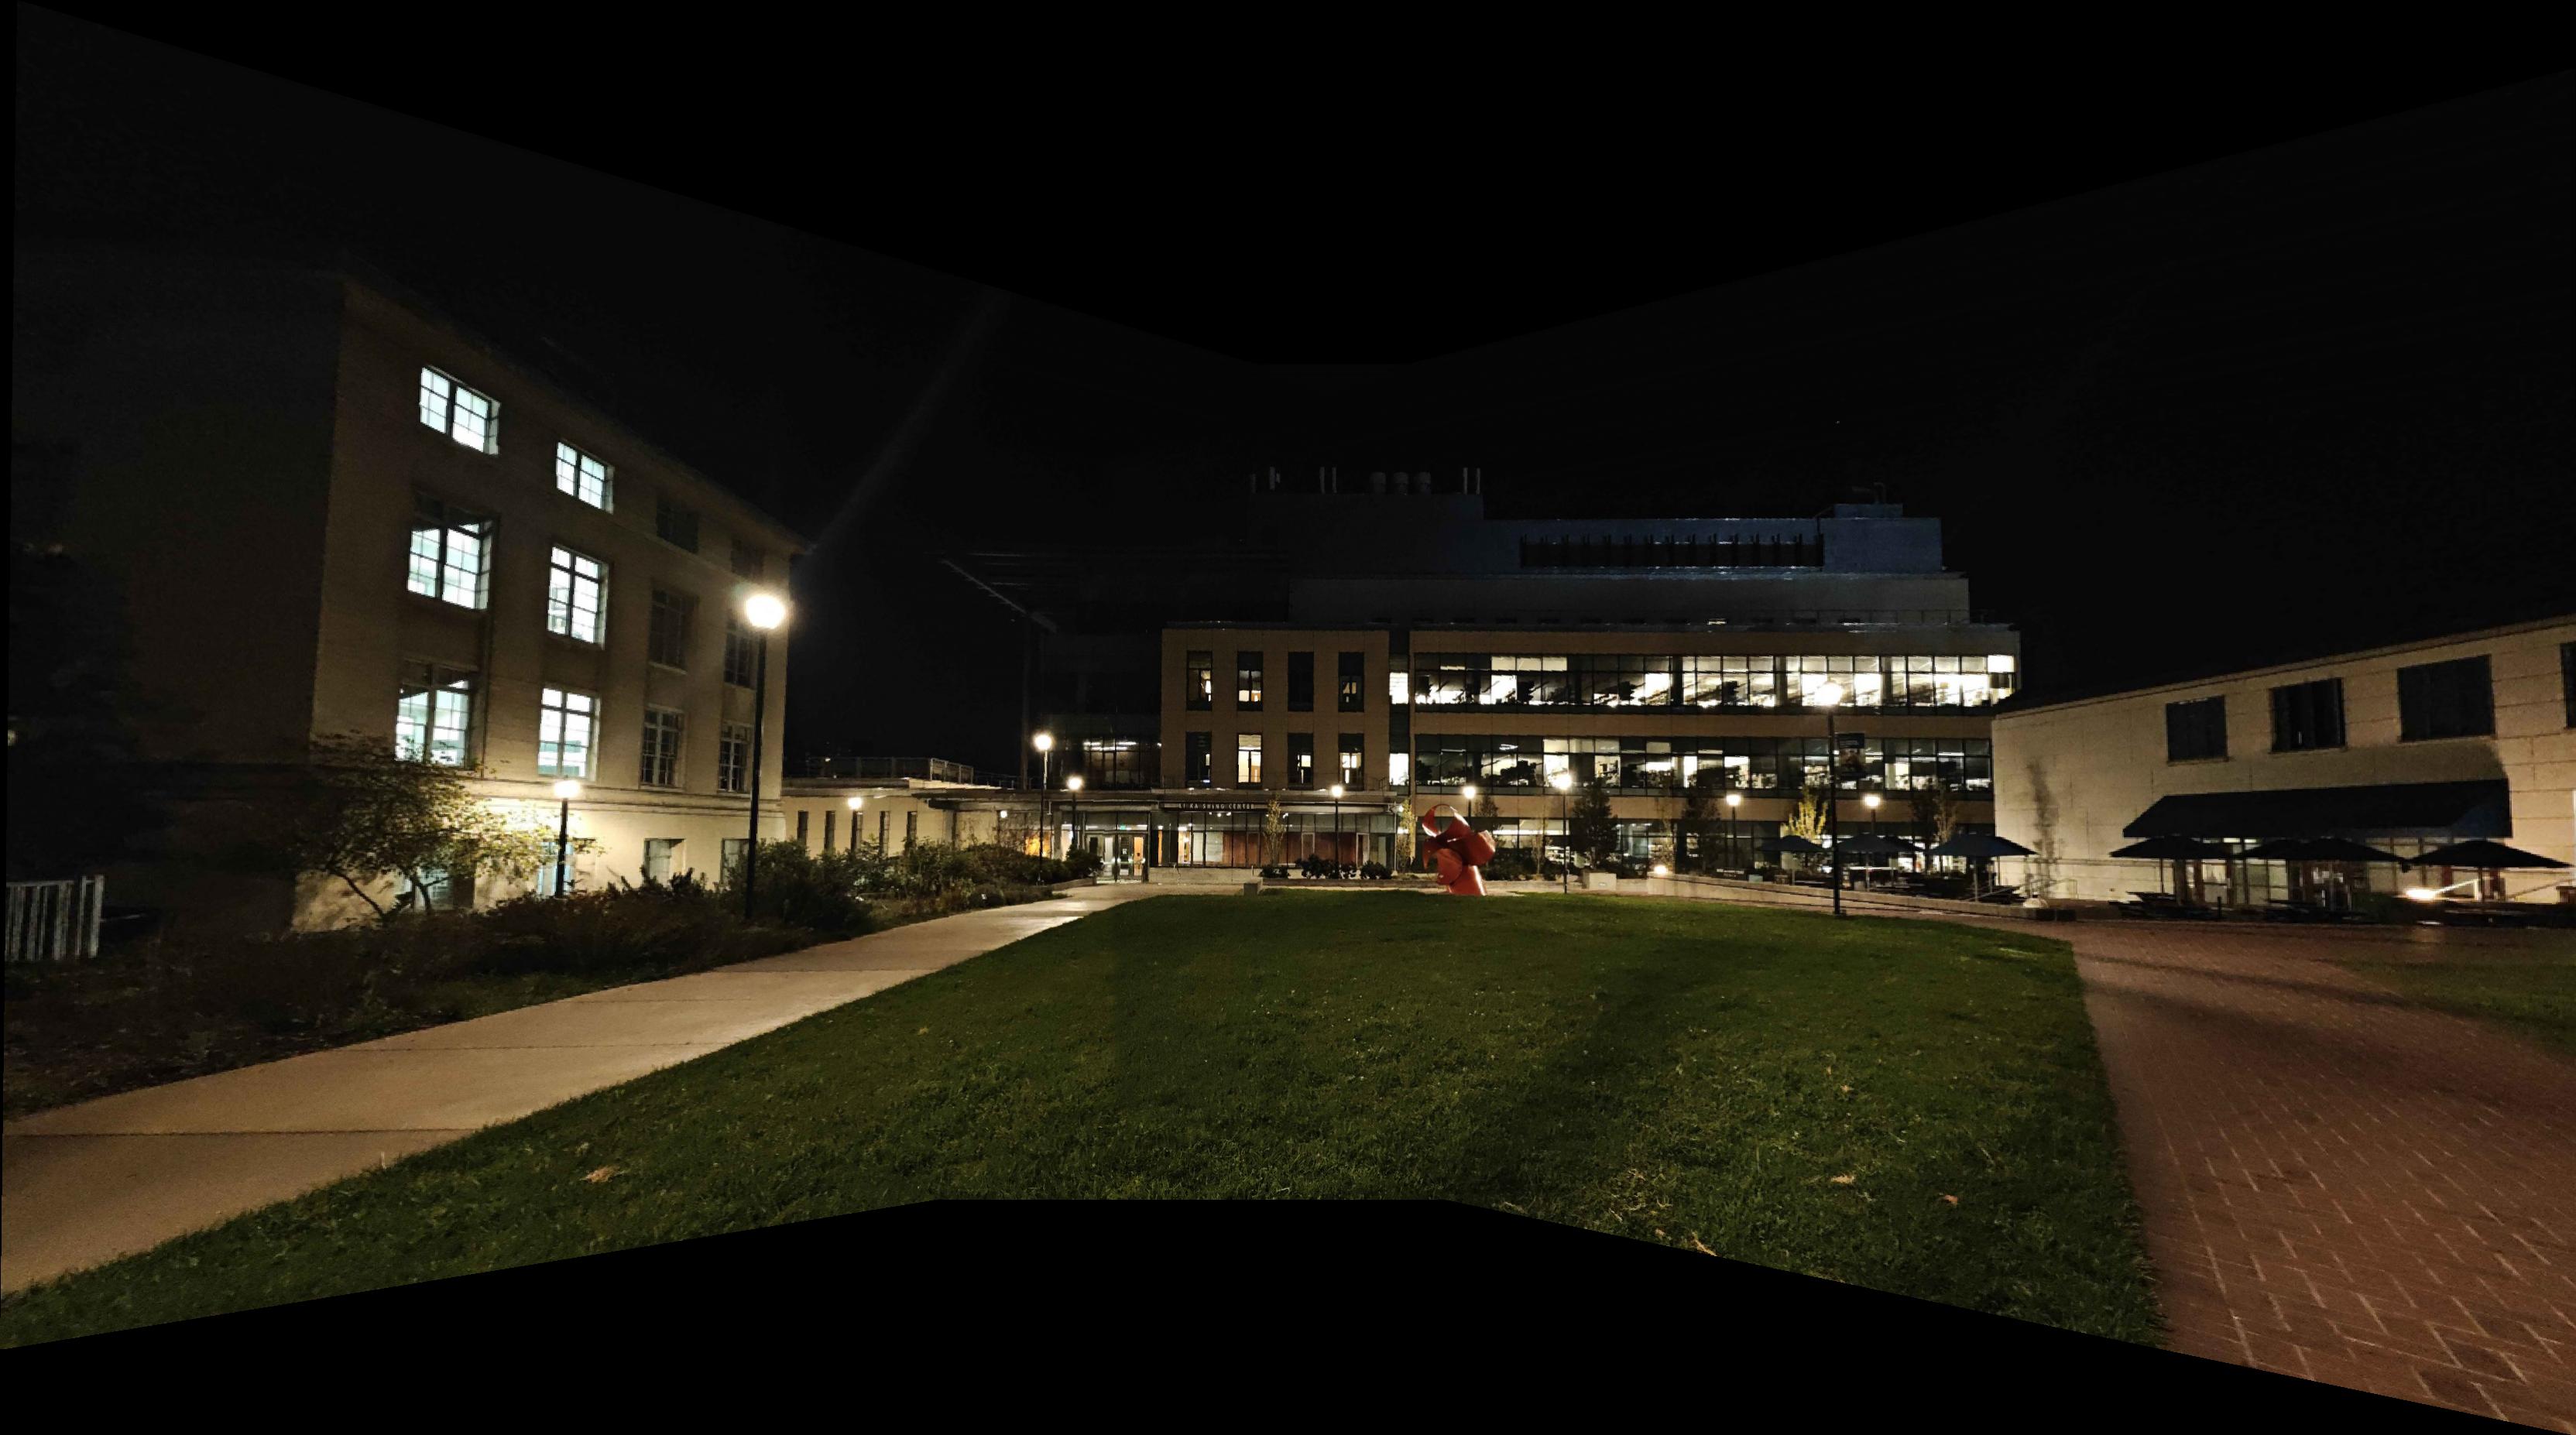
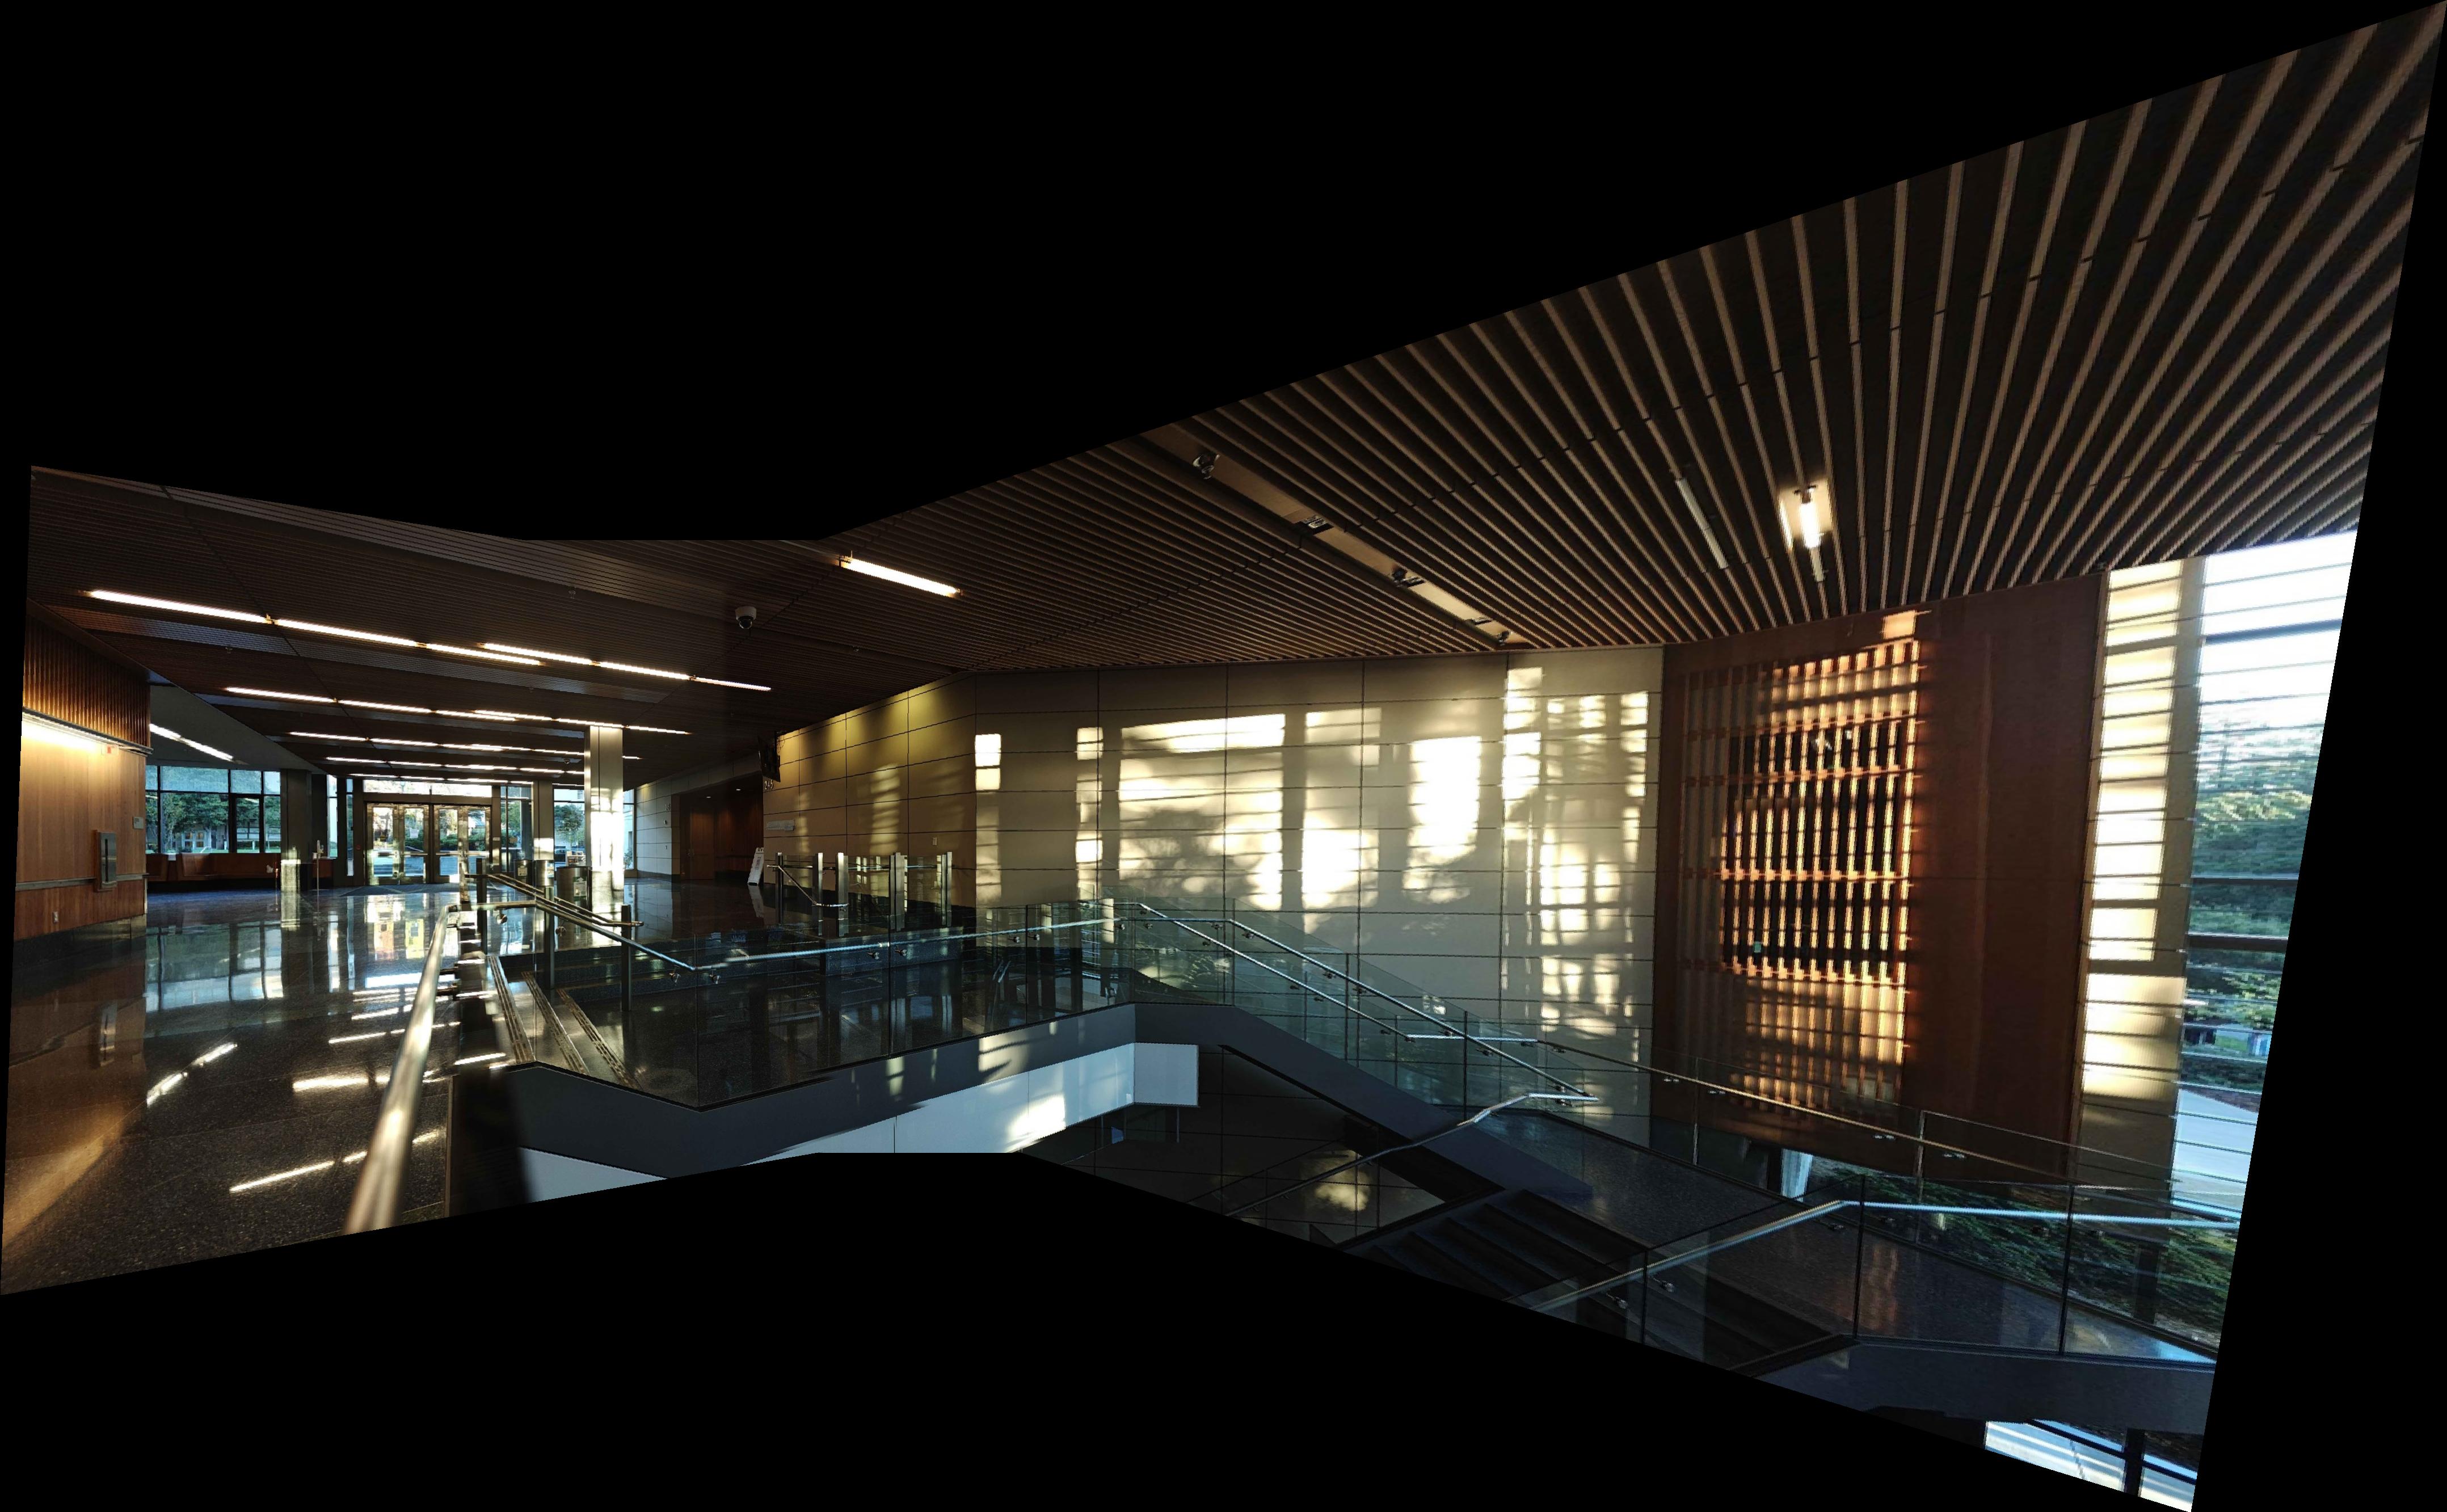
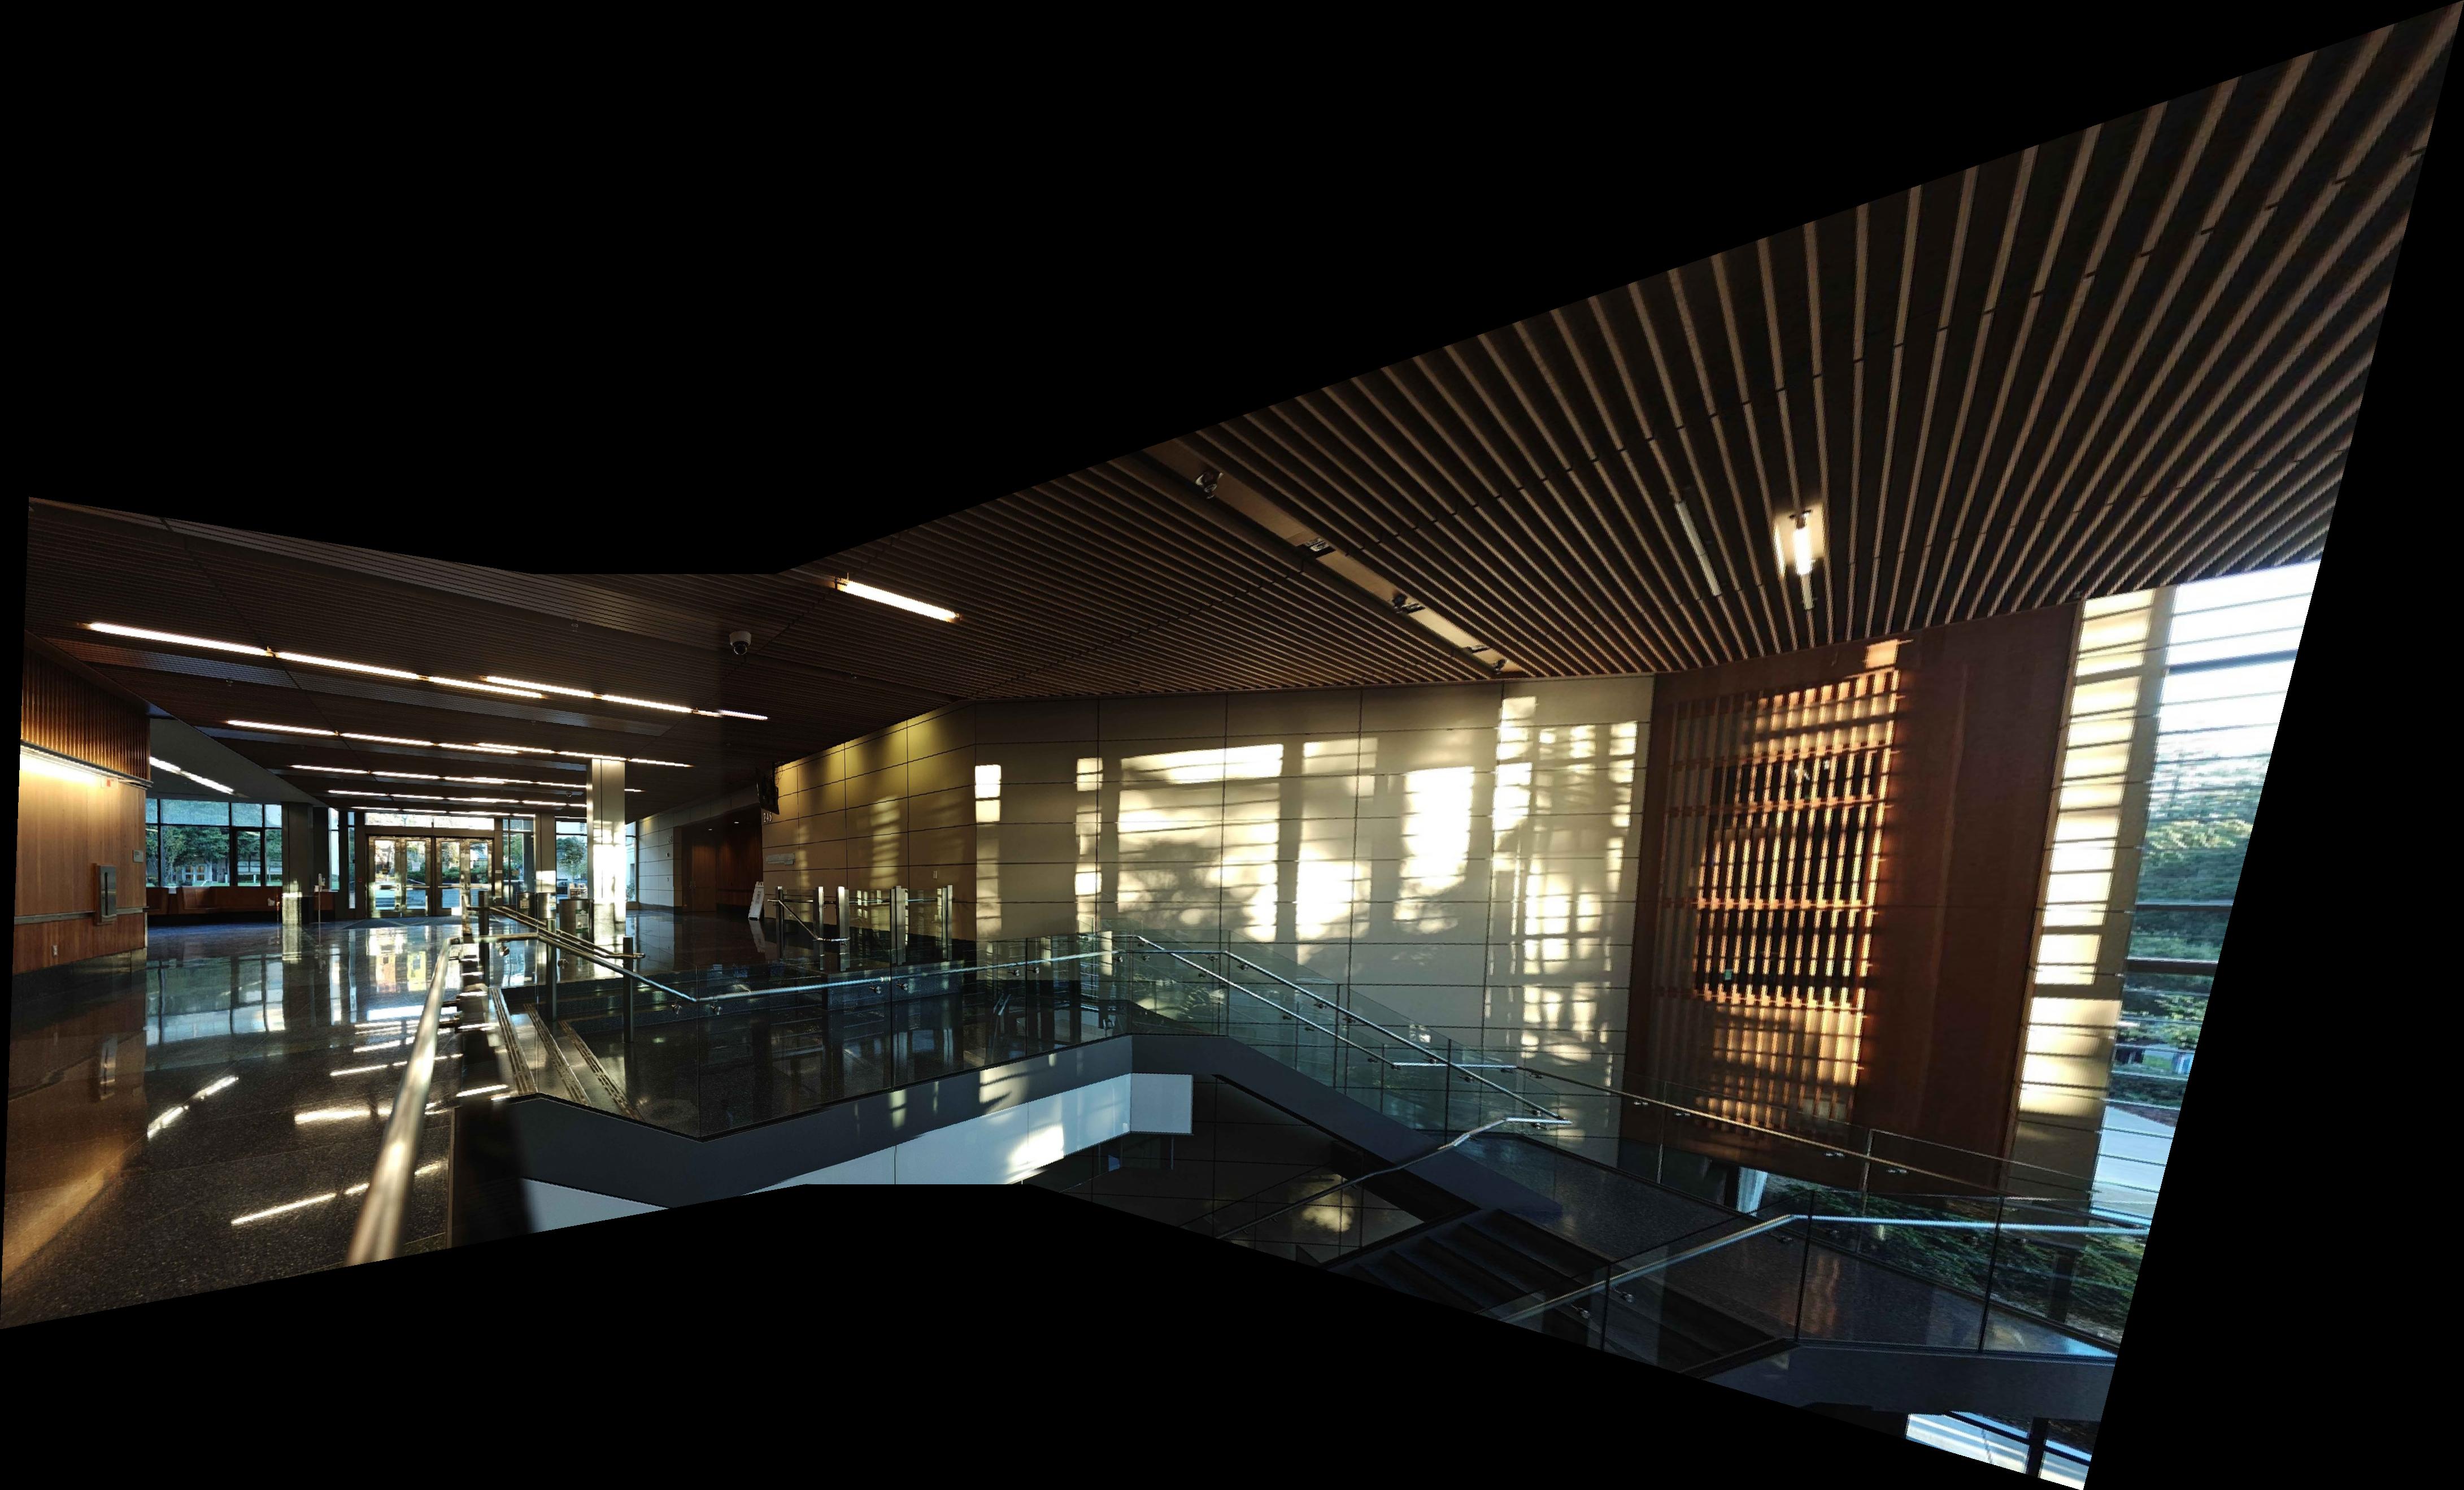
Automatic stiching performs as good as me manually matching the features. The same artifacts on manual and automatic make me think that they are the result of small camera movements when taking the photos. Even when the automatic stitching doesnt perform as well as manual, the blending makes the inaccuracies hard to notice.
Apart from doing all the cool stuff in the project I learned that sometimes there isnt a magical algorithm and bruteforcing through several layers does very good(has not been the case in my personal projects:pensive:😔). Seeing the chain of corners -> anms -> features -> ransac and seeing the corners get more refined with each iteration was exciting.